


Engraving Ceramic and Porcelain: What You Need to Know Before You Start (2026)
Ceramic and porcelain are beautiful materials that look amazing when laser engraved, and they're popular for everything from custom coffee mugs to personalized gifts and decorative tiles. If you're thinking about engraving ceramic or porcelain with your Tyvok A1 Mini or Tyvok P2, you probably have some questions. Can you even laser engrave ceramic? What settings work best? Will it chip or crack?
In this guide, we'll cover everything you need to know before you start engraving ceramic and porcelain, including best practices, recommended settings, tips for great results, and how to avoid common mistakes.
Can You Laser Engrave Ceramic and Porcelain?
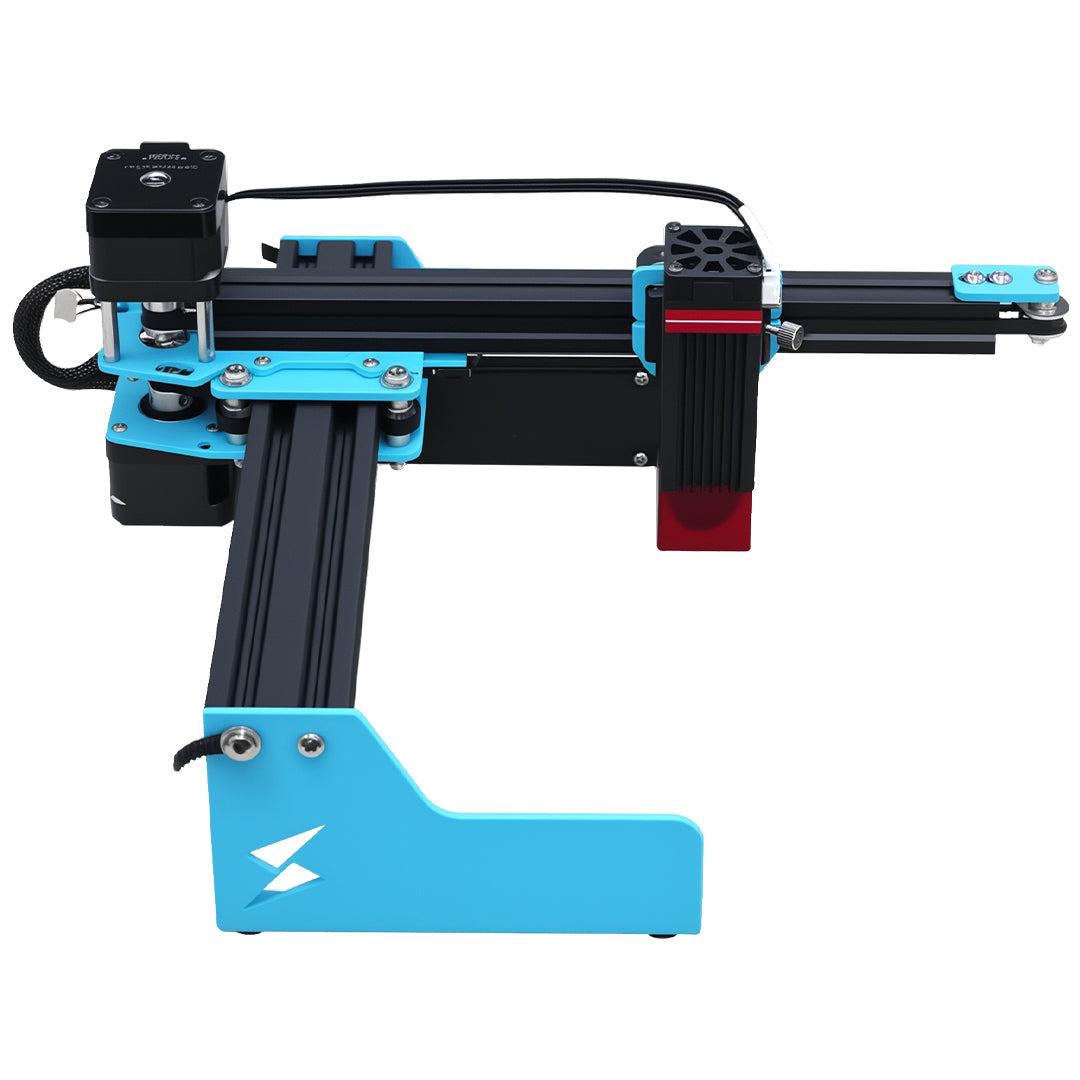
Yes, you absolutely can laser engrave ceramic and porcelain! Both materials respond really well to laser engraving, especially with a 10W diode laser like the one in the Tyvok A1 Mini. The laser removes the glaze from the surface of the ceramic, creating a permanent, high-contrast engraved mark that looks great and will never wear off.
The result is a matte white or off-white engraving that contrasts beautifully with the colored glaze on the rest of the ceramic. It's perfect for customizing mugs, plates, tiles, and other ceramic items.
What's the Difference Between Ceramic and Porcelain?
People often use these terms interchangeably, but there are some key differences that can affect how they engrave:
Ceramic: Generally refers to earthenware or stoneware. It's more porous, thicker, and usually has a thicker glaze. It tends to engrave very well with a diode laser, and it's less prone to cracking than porcelain.
Porcelain: A type of ceramic that's fired at higher temperatures, making it harder, denser, and more translucent. It's thinner than most earthenware ceramics. Porcelain can be more challenging to engrave because it's more brittle, so you need to use lower power to avoid cracking.
For most beginners starting out with mugs and tiles, standard ceramic is more forgiving and easier to work with. Porcelain is beautiful when done correctly, but it requires a little more care.
What Can You Engrave?
Here are some of the most popular things people engrave on ceramic and porcelain:
- Coffee mugs and tea cups – great for personalized gifts
- Ceramic tiles – for coasters, wall art, or home decor
- Plates and bowls – for special occasions or personalized dinnerware
- Ornaments – for holidays and gifts
- Jewelry and pendants – small ceramic blanks make great jewelry
- Nameplates and signs – for home or business use
Recommended Settings for Engraving Ceramic and Porcelain
The right settings depend on your laser power and the type of ceramic you're engraving. Here are our recommended starting settings for a 10W laser like the Tyvok A1 Mini:
Glazed Ceramic (Earthenware/Stoneware)
| Parameter | Value | Notes |
|---|---|---|
| Power | 30-50% | Don't go above 60% |
| Speed | 100-200 mm/s | Faster speed = lighter engraving |
| Passes | 1-2 | One pass is usually enough |
| DPI | 300-340 | Good detail without excessive time |
Important: You only need to remove the glaze – you don't need to cut deep into the ceramic itself. Higher power isn't better here.
Porcelain
Porcelain is more brittle, so we recommend lower power to avoid cracking:
| Parameter | Value | Notes |
|---|---|---|
| Power | 20-35% | Keep it lower to prevent cracking |
| Speed | 150-250 mm/s | Faster is safer for porcelain |
| Passes | 1 | Multiple passes increase stress |
| DPI | 300 | Good detail without excess heat |
Critical Tips for Settings:
-
Always do a test engraving first on a hidden spot or a scrap piece of the same ceramic before you engrave your good piece. Different ceramics can behave very differently.
-
Less is more – It's better to start with lower power and do a light engraving than to use too much power and crack the ceramic. You can always go over it again if you need a deeper engraving.
-
Watch the heat – Laser engraving creates heat, and rapid temperature changes can cause ceramic to crack. If you're engraving a large area, consider doing it in multiple sessions or letting it cool between passes if you need to do a second pass.
How to Prepare Ceramic for Engraving
Proper preparation helps you get better results and reduces the risk of problems:
1. Clean the Surface
Make sure your ceramic is clean and free of any dirt, oil, or grease. Wash it with warm soapy water and dry it completely before engraving. Any oils or residues on the surface can affect how the laser interacts with the glaze.
2. Secure It Flat
Ceramic items like mugs are curved, so you need to make sure they're held securely in place. If you're doing a lot of mug engraving, a rotary attachment can help you get consistent results on curved surfaces. For flat tiles or plates, just make sure the surface is as flat as possible and secured so it can't move during engraving.
For the Tyvok A1 Mini, you can adjust your workpiece height to get the focus right on curved surfaces, or use a rotary attachment for consistent cylindrical engraving.
3. Focus Correctly
This is always important, but it's especially critical for ceramic. If your laser is out of focus, you'll get inconsistent results and you might accidentally use too much power trying to get a deeper engraving. Use the focus gauge that came with your A1 Mini to get the focus right before you start.
Tips for Great Results
Here are our top tips for getting professional-quality engravings on ceramic:
1. Use Masking Tape to Reduce Splatter
Some people apply blue painter's masking tape to the surface before engraving. This catches any ceramic dust and glaze splatter, making cleanup easier. It can also help prevent the surface from getting too much charring. After engraving, just peel off the tape and wipe the surface with a damp cloth.
This is especially helpful for darker colored glazes where splatter shows up more.
2. Engrave on the Glaze, Not the Unglazed Back
Most ceramic mugs and tiles have a glazed front surface and an unglazed back. Always engrave the glazed side – the laser creates much better contrast on glazed ceramic. Unglazed ceramic doesn't give you the same clean, high-contrast result.
3. Let It Cool Before Handling
Laser engraving heats up the ceramic, so let it cool for a few minutes before you handle it. This not only prevents burns but also reduces thermal stress that can cause cracking after engraving.
4. Clean After Engraving
After engraving, you'll have some ceramic dust on the surface. Let it cool, then wipe it with a damp cloth or paper towel to remove all the dust. The engraving should look clean and matte with good contrast against the glaze.
5. Start with Simple Designs
If you're new to engraving ceramic, start with simple text or bold graphics. Fine details can be harder to see on ceramic because the contrast isn't as high as it is on wood or other materials. Once you get comfortable with the process, you can try more detailed designs.
Common Problems and How to Fix Them
Here are the most common issues people have when engraving ceramic, and how to avoid or fix them:
Problem: The ceramic cracked during engraving
Cause: This is almost always from too much power or too much heat in one spot. Porcelain cracks more easily than ceramic because it's more brittle.
Solution: Use lower power (20-40% depending on the material). If you need a darker engraving, increase speed first before increasing power. Let the material cool between passes if you need to do multiple passes.
Problem: The engraving is too faint or hard to see
Cause: Not enough power or too fast speed.
Solution: Increase power by 10% or decrease speed by 25%, and do another test. Remember you only need to remove the glaze – you don't need to cut deep.
Problem: The edges are chipped or rough
Cause: Too much power causing the glaze to chip away instead of cleanly vaporizing.
Solution: Lower your power and increase speed. The goal is to cleanly remove the glaze, not blast it away aggressively.
Problem: The engraving is uneven
Cause: The surface isn't flat or focused correctly. On curved surfaces like mugs, only the center is in focus.
Solution: Make sure your ceramic is secured properly and the surface you're engraving is as flat as possible where the laser is working. For cylindrical mugs, use a rotary attachment to keep the surface consistently focused as it rotates.
Problem: There's discoloration around the engraving
Cause: Too much power burning the glaze, or not cleaning the surface properly before engraving.
Solution: Lower your power, and make sure you clean the ceramic thoroughly before engraving. Some discoloration can be wiped off with a damp cloth after engraving.
Is Laser Engraved Ceramic Dishwasher Safe?
Yes! The engraving is permanent because it removes the glaze from the surface, it's not just a surface mark. Laser engraved ceramic is dishwasher safe, and the engraving won't wash off or fade over time. The key is that you're not adding anything to the ceramic – you're permanently removing material from the surface, so it can't wear off.
This is one of the big advantages of laser engraving ceramic compared to other methods like printing – the result is completely permanent and food-safe.
Can You Cut Ceramic with a 10W Diode Laser?
While engraving works great, cutting thicker ceramic or porcelain with a 10W diode laser is generally not practical. 10W can score ceramic, but cutting through thick ceramic requires a much more powerful laser (usually CO2 lasers with 50W or more power) and specialized techniques.
For most hobbyists and small businesses, engraving is what you'll do with ceramic, and that works perfectly with the 10W Tyvok A1 Mini.
Safety Considerations
When engraving ceramic, there are a couple of safety things to keep in mind:
-
Ventilation: Laser engraving ceramic produces fine ceramic dust. Make sure you have good ventilation to pull the dust away from your work area. A fume extractor is recommended for frequent ceramic engraving.
-
Eye protection: Always use the proper eye protection for your laser. The laser can reflect off the glossy ceramic glaze, so proper eye protection is even more important.
-
Let it cool: As we mentioned earlier, ceramic gets hot during engraving. Let it cool completely before handling it to avoid burns.
Final Thoughts
Ceramic and porcelain are wonderful materials for laser engraving, and they're very accessible for beginners. With the right settings and proper technique, you can create beautiful permanent engravings on mugs, tiles, plates, and more with a 10W diode laser like the Tyvok A1 Mini.
The key things to remember are: start with lower power than you think you need, always do a test engraving first, make sure your focus is correct, and don't rush. Ceramic is more forgiving than many people think, and once you get the settings dialed in for the type of ceramic you're using, you'll get consistent great results.
Whether you're making personalized gifts for friends and family or starting a small business making custom engraved ceramic products, a 10W laser has more than enough power to handle everything you'll need as a beginner.
Whether you're just getting started with custom engraving with the compact and affordable Tyvok A1 Mini or you're looking for faster production with the precision galvo laser of the Tyvok P2, both machines are capable of producing beautiful ceramic engravings that will last a lifetime.
New to laser engraving and not sure where to start? Check out our beginner's guide to your first laser engraving project to help you get up and running with confidence.
Related: best materials guide
Related: what materials can you engrave
Related: beginner guide