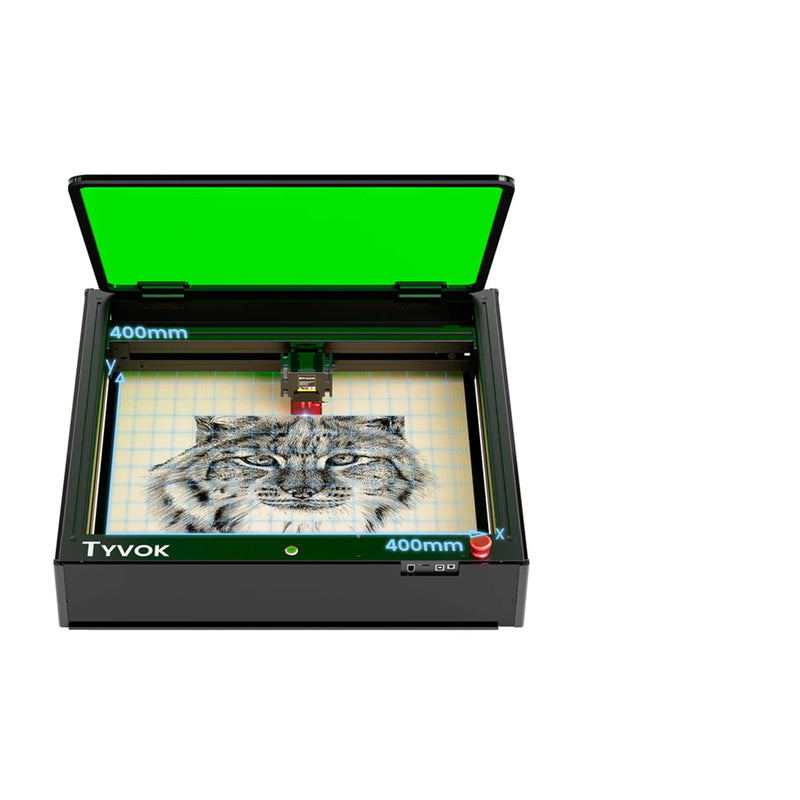
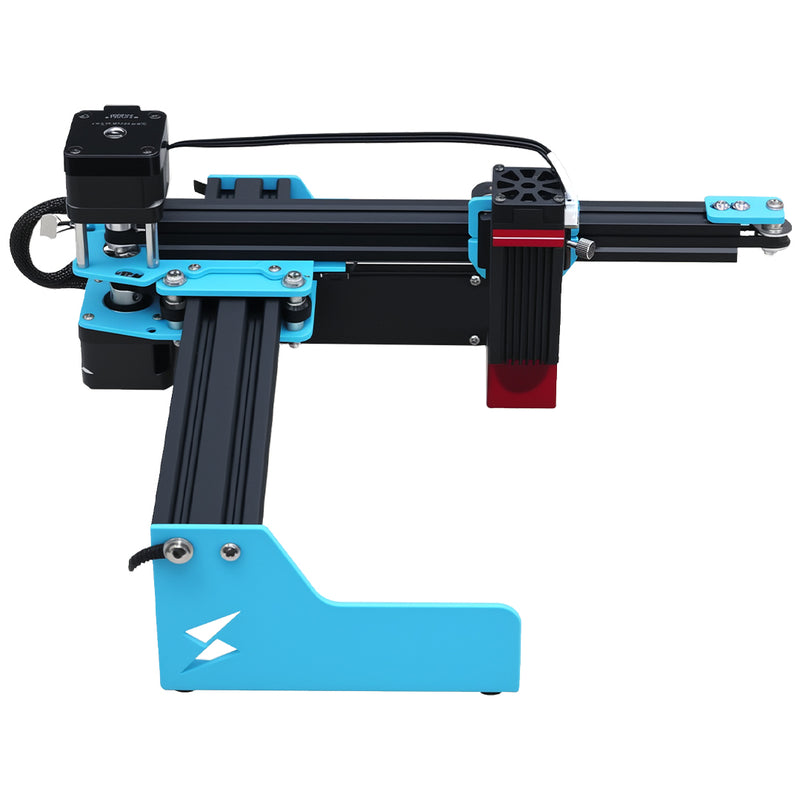
For many entry-level DIY enthusiasts, a laser engraver is an exciting tool that can not only help you create personalized items, but also enhance your skill level. If you've ever wondered how to make an item that is both functional and creative, then today's project is just for you. Together we'll explore how to make a mobile power case using the TYVOK X1S Pro laser engraver, 3D scanning, 3D printing and laser cutting techniques. This project is particularly suitable for DIY enthusiasts who are just starting out and is easy to follow, yet creative and practical.

Why make a protective case for a mobile power box?
At a time when the popularity of mobile power is increasing, people have become more dependent on using it to charge their devices. However, subject to weather, collisions, scratches and other factors, especially when participating in outdoor activities, mobile power cases can be damaged if they are not protected properly. This is where the need arises to create a customized case that will provide protection for the power source and also give your device a more personalized and unique look.
Tools and materials for the project
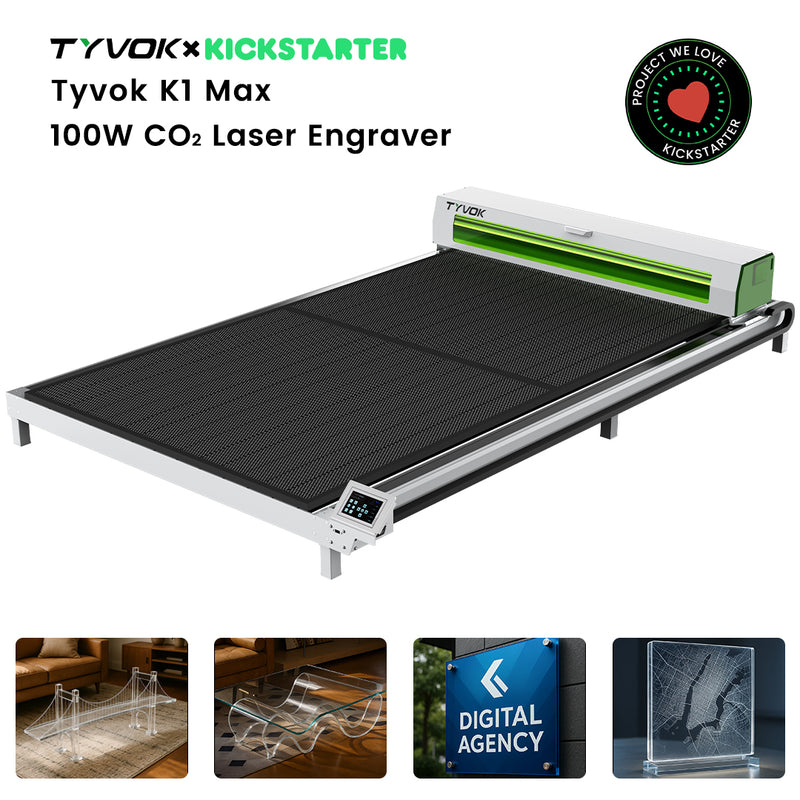
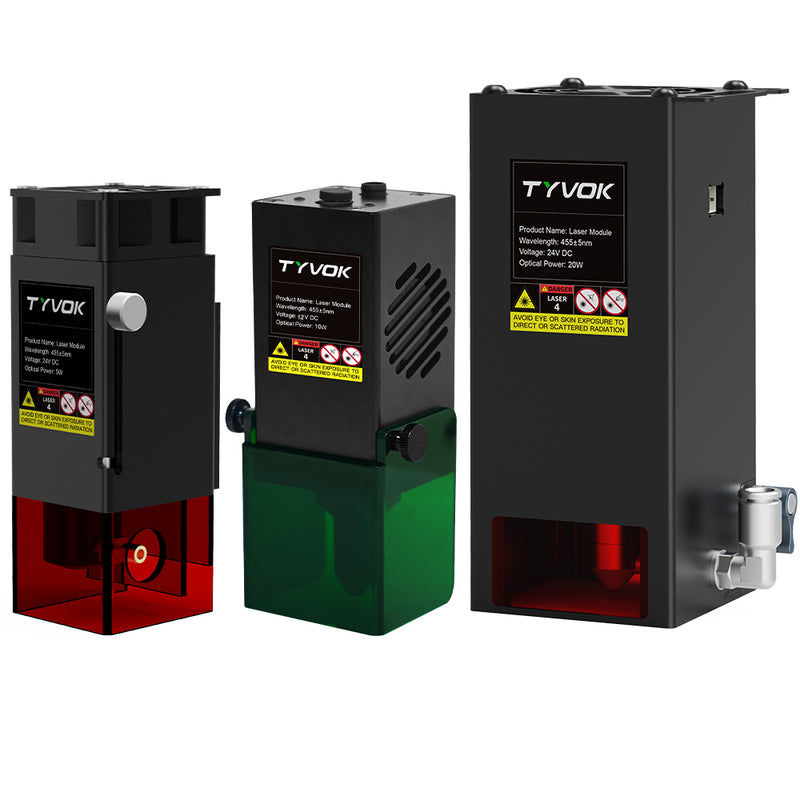
1.TYVOK X1S Pro Laser Engraver: for precise laser cutting and engraving.
2.3D Scanner or 3D Scanning Application: for scanning the mobile power bank and obtaining an accurate model of it.
3.3D Printer: for printing some parts of the protective case.
4.Suitable materials: such as wood, acrylic, PLA or ABS.
Project implementation steps
Step 1: We need to get the exact size and shape of the mobile power bank. You can use a 3D scanner to scan the power bank to make sure the dimensions of the protective case fit the power bank perfectly.

Step 2: Based on the shape of the power bank, use 3D modeling software (such as Tinkercad or Fusion 360) to design a protective box. Once this is done, use a 3D printer to print out the basic frame of the protective box.
Step 3: Use the TYVOK X1S Pro laser engraver to accurately cut the edges and holes of the protective box, and at the same time, you can engrave unique patterns, names, logos, or other personalized elements on the surface of the box,, and choose different materials to cut, such as wood, acrylic, leather, etc., to give the box a different texture and appearance.

Step 4: Once the 3D printed and laser cut sections are complete, use glue, screws, or snaps to attach the components to ensure that all seams are butted tightly and the power bank fits smoothly into the protective case.
Step 5: After completing all the steps, you will have a practical and personalized protective case for your mobile power supply. This protective case not only protects the power bank from drops and scratches, but also shows off your creativity and DIY skills.

Unlimited possibilities of laser engraving
This DIY project will not only allow you to learn how to use the TYVOK X1S Pro laser engraver, but will also give you insight into how to combine 3D scanning and 3D printing technology to create personalized and useful items. This is a great project for starters and will also help you improve your skills in laser engraving and 3D printing.

Laser engraving machines offer endless creative possibilities for DIY enthusiasts, whether you want to make a protective case for your mobile power bank or want to take on the challenge of a more complex project, you can gain experience through constant practice. Grab your laser engraver now and start this exciting creative journey!

