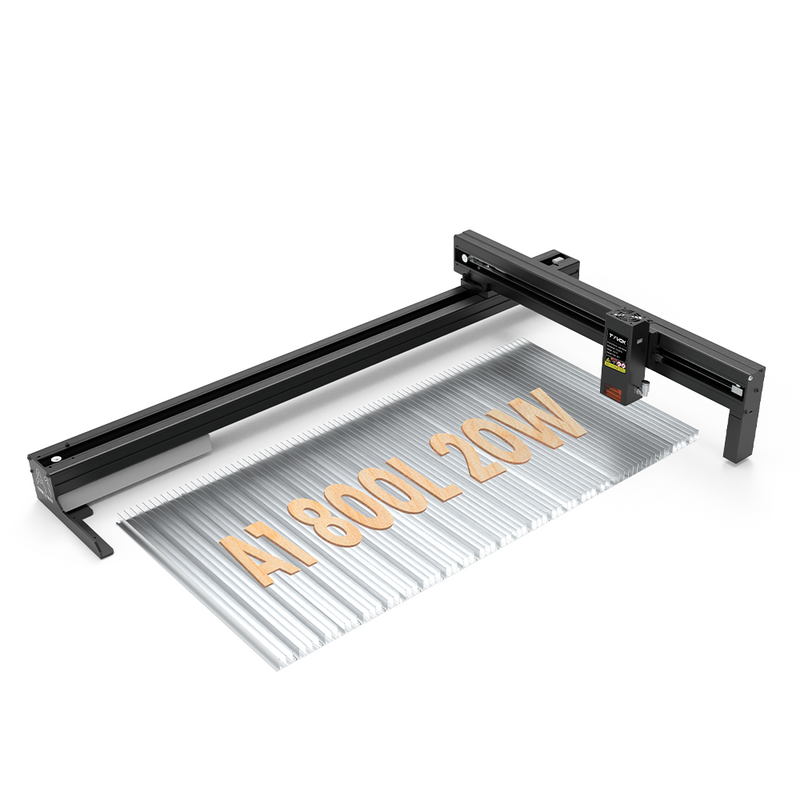

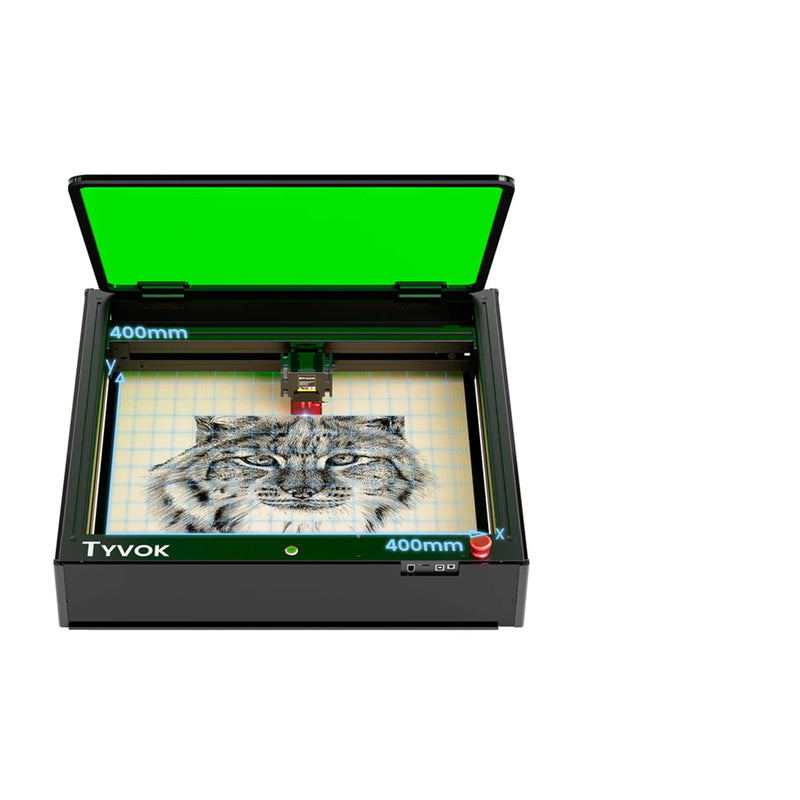


Looking to scale up your production? Our Super Large Laser Engraver is designed for maximum surface area and efficiency.
Whether you’re engraving oversized panels or doing batch production, the TYVOK S1 offers unmatched precision and speed.
If you're looking to take on more ambitious projects or produce work for commercial sale, a large format laser engraver may be the ideal tool. These machines offer a much larger working area which allows for batch engraving or working with oversized materials like signage or furniture panels.
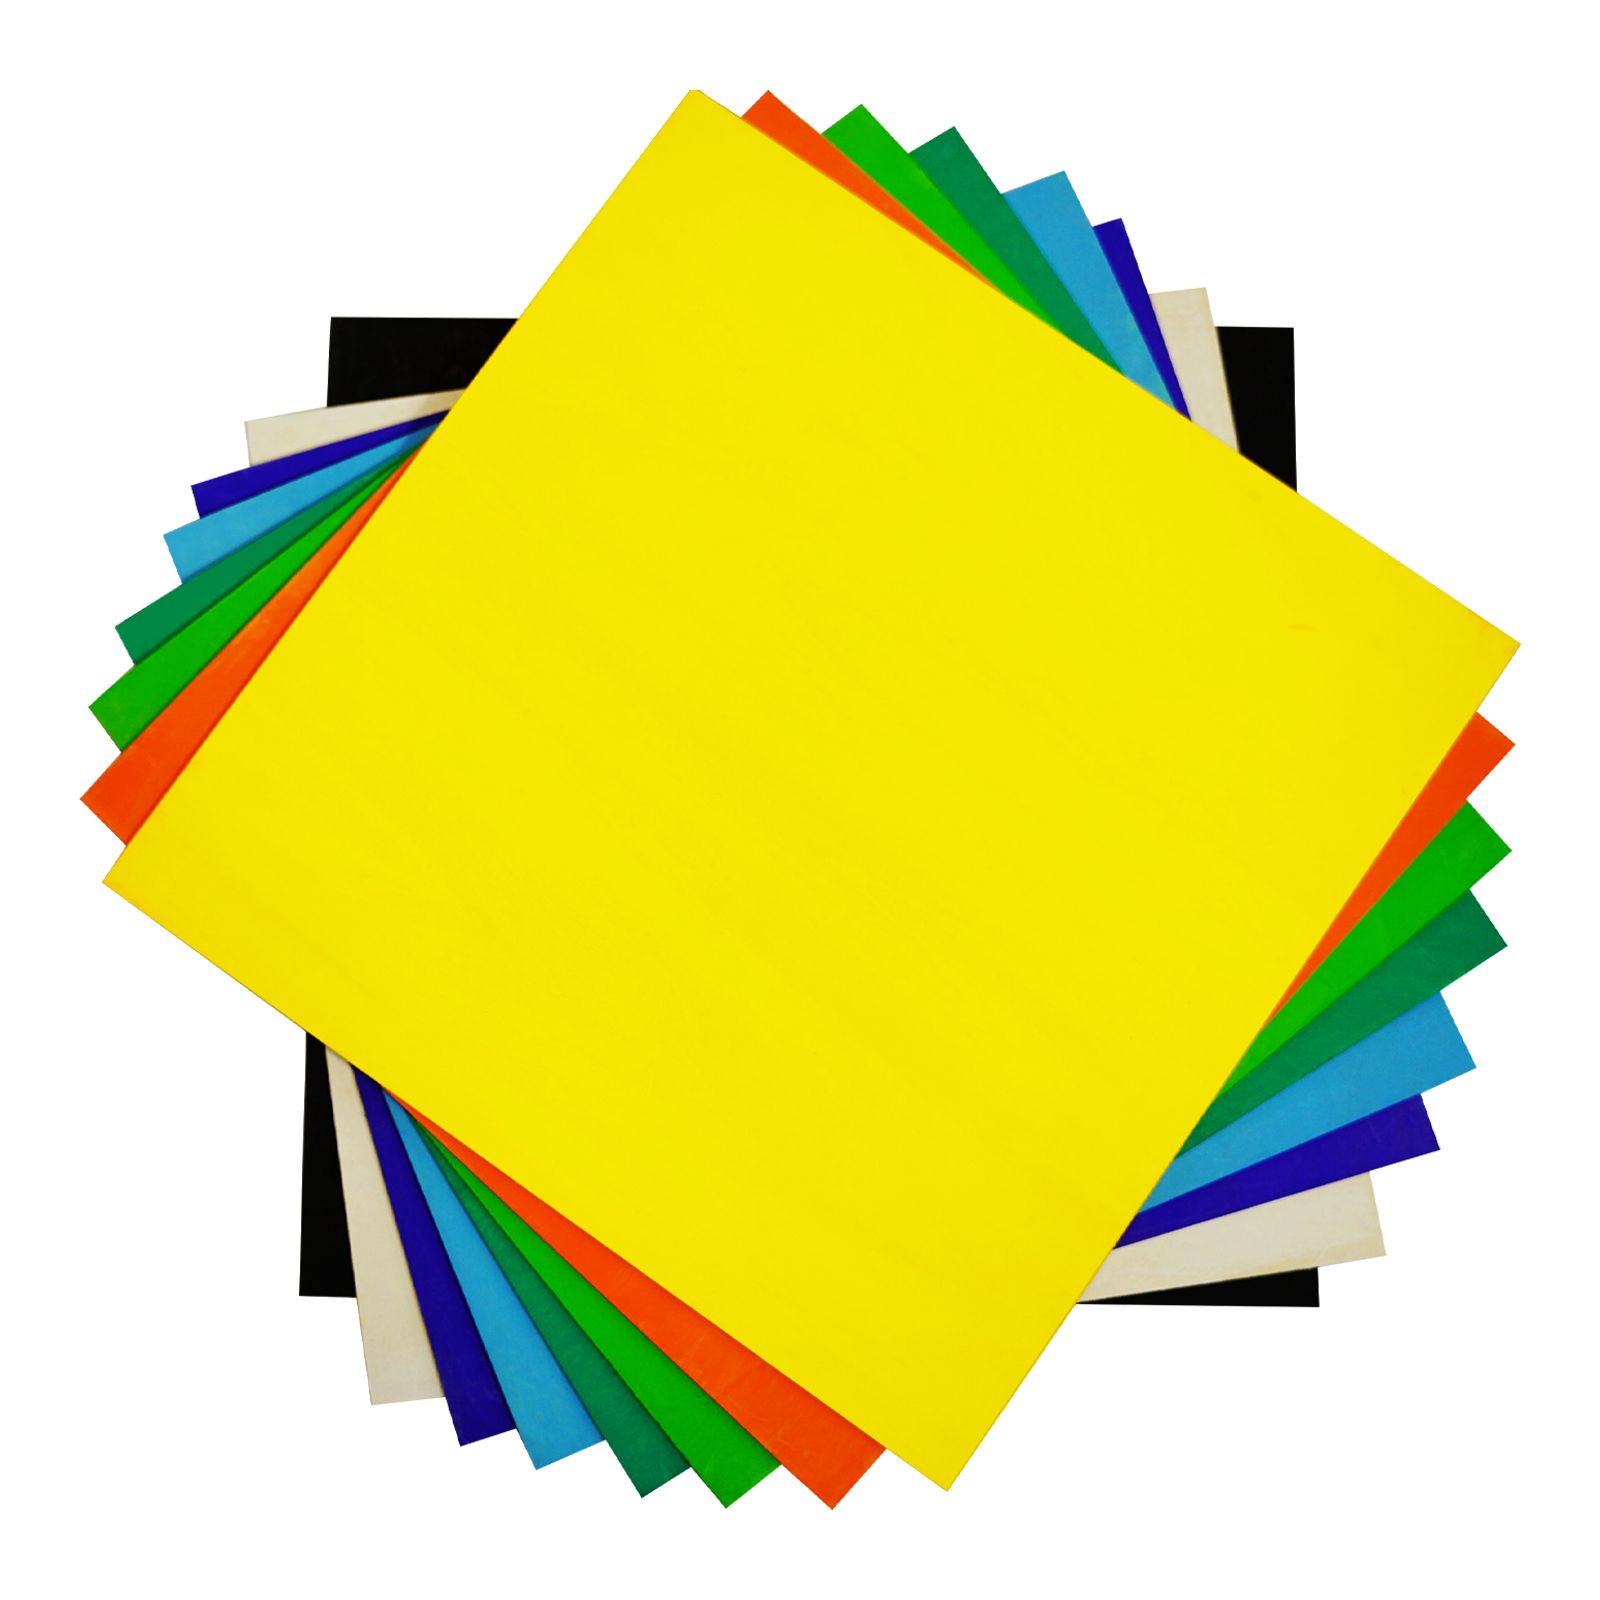
DIY laser engraving is a great way to explore creative customization from the comfort of your home. You can engrave designs on wood, leather, and even tumblers with a compact diode laser, making it perfect for gifts, personalization, or even a side hustle.
In LightBurn, the processing speed must be set to 1000mm/min or below, with a processing power of 100%.

Before you start engraving, first determine what kind of drawing you want to create using the line drawing module. This can be divided into two situations:
1. Line drawings, as shown in the image below. You need to use vector graphics as the source file or convert an image to a line drawing in LightBurn.

(Left image is a vector source file, right image is an image converted to a line drawing)
If you are using vector graphics, simply import them into LightBurn, set the size, mode to "Line," and adjust the speed and power. You can then start working.
If you are using regular images (such as jpg, png, etc.), you can convert them to line drawings following these steps:
(1) Right-click on the image, select "Trace Image," and a window like the one below will pop up.

(2) Adjust "Cutoff" and "Threshold" as needed, click "OK," and then delete the image layer.

(3) Adjust the processing position, size, speed, and power, right-click "Preview" for a preview, and start working once you confirm the effect.
2. Directly processing the original image, as shown below. The left image will represent the brightness of the original image using point density during processing, while the right image will only have two colors, black and white, and can be filled with lines.

You can directly use regular images (jpg, png, etc.) for processing, preferably high-definition images for the best results.
If you want to create works with brightness and contrast (as in the left image), you can follow these steps:
- If you are using a non-white background image, you need to convert it to a white background image, following these steps. Right-click on the image, select "Adjust Image," and a window like the one below will pop up:

- Adjust "Contrast," "Brightness," and "Gamma" parameters as needed, making the image background tend towards white while ensuring that the main subject is not overexposed. Click "OK" when finished.

- Double-click on the "Image" layer on the right, and a window like the one below will pop up. Make sure "Image Mode" is set to "Dither."

- "Line Interval" is adjustable and determines the level of detail in the processing image. A smaller value provides more precision but increases processing time. You can adjust it according to your desired effect.
- Adjust the processing position, size, speed, and power, right-click "Preview" for a preview, and start working once you confirm the effect.
If you want to create works with no brightness and contrast (as in the right image), only black and white, follow these steps:
- Convert non-white background images to white background images. After importing the image, double-click on the "Image" layer on the right.

- Change "Image Mode" to "Threshold," then adjust "Line Interval" as needed, and click "OK."

- Adjust the processing position, size, speed, and power, right-click "Preview" for a preview, and start working once you confirm the effect.