From Design to Reality – A Complete Showcase Case Study
Introduction
Why illuminated signs? From eye-catching storefronts to creative studio displays, illuminated signs bring both visibility and style. In this case, we demonstrate how to transform a simple design into a glowing TYVOK sign by combining 3D printing, CO₂ laser cutting, wood engraving, and LED lighting. This journey reflects not only creativity but also the professional synergy enabled by the Tyvok K1.

Materials You’ll Need
• Black acrylic sheet – chosen for its polished surface and light diffusion
• Wooden board – stable base with natural texture
• 3D printing filament (PETG recommended) – strong, slightly flexible, perfect for hollow lettering
• LED light strip – provides the glowing effect, easy to install
Step-by-Step Creation
Step 1: 3D Print the Hollow Lettering
We used a Bambu Lab A1 printer with PETG filament. The letters were designed with a hollow structure about 20mm thick. Hollow printing makes the letters lightweight, leaves room for LED lighting, and adds a layered appearance.

Step 2: Laser Cut the Acrylic Logo
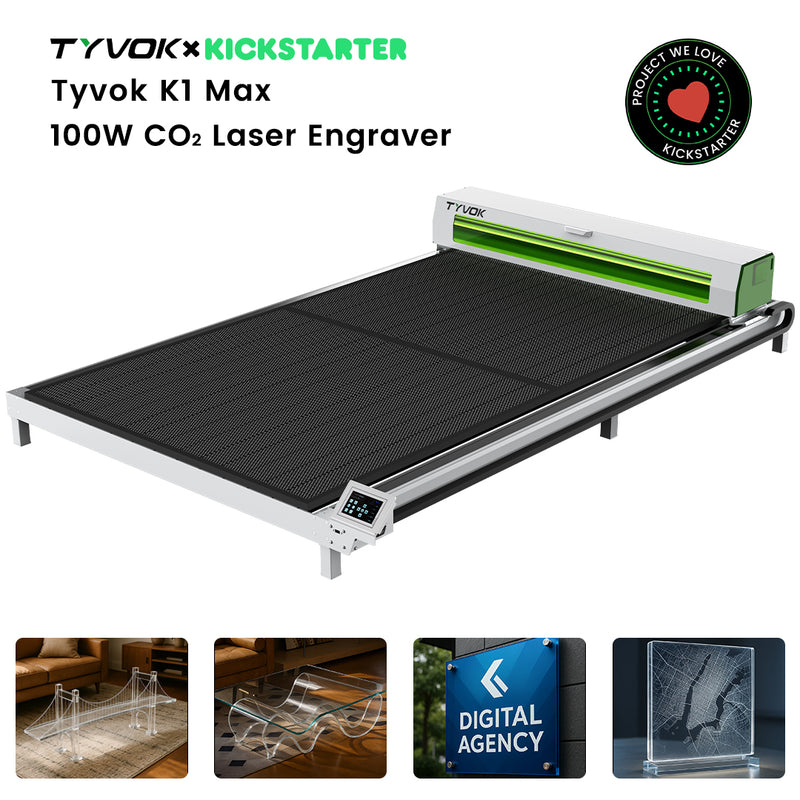
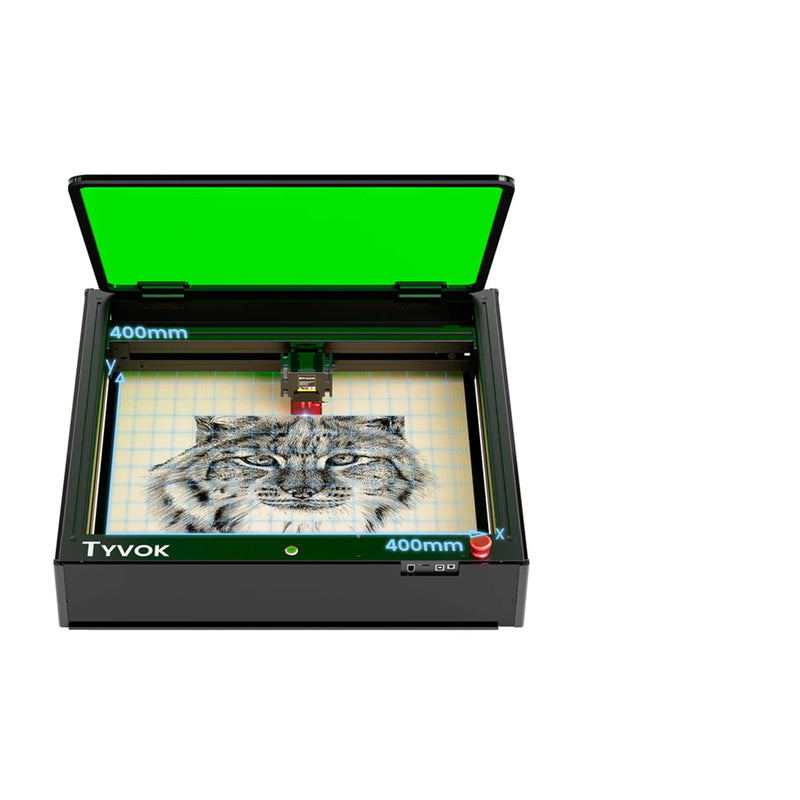
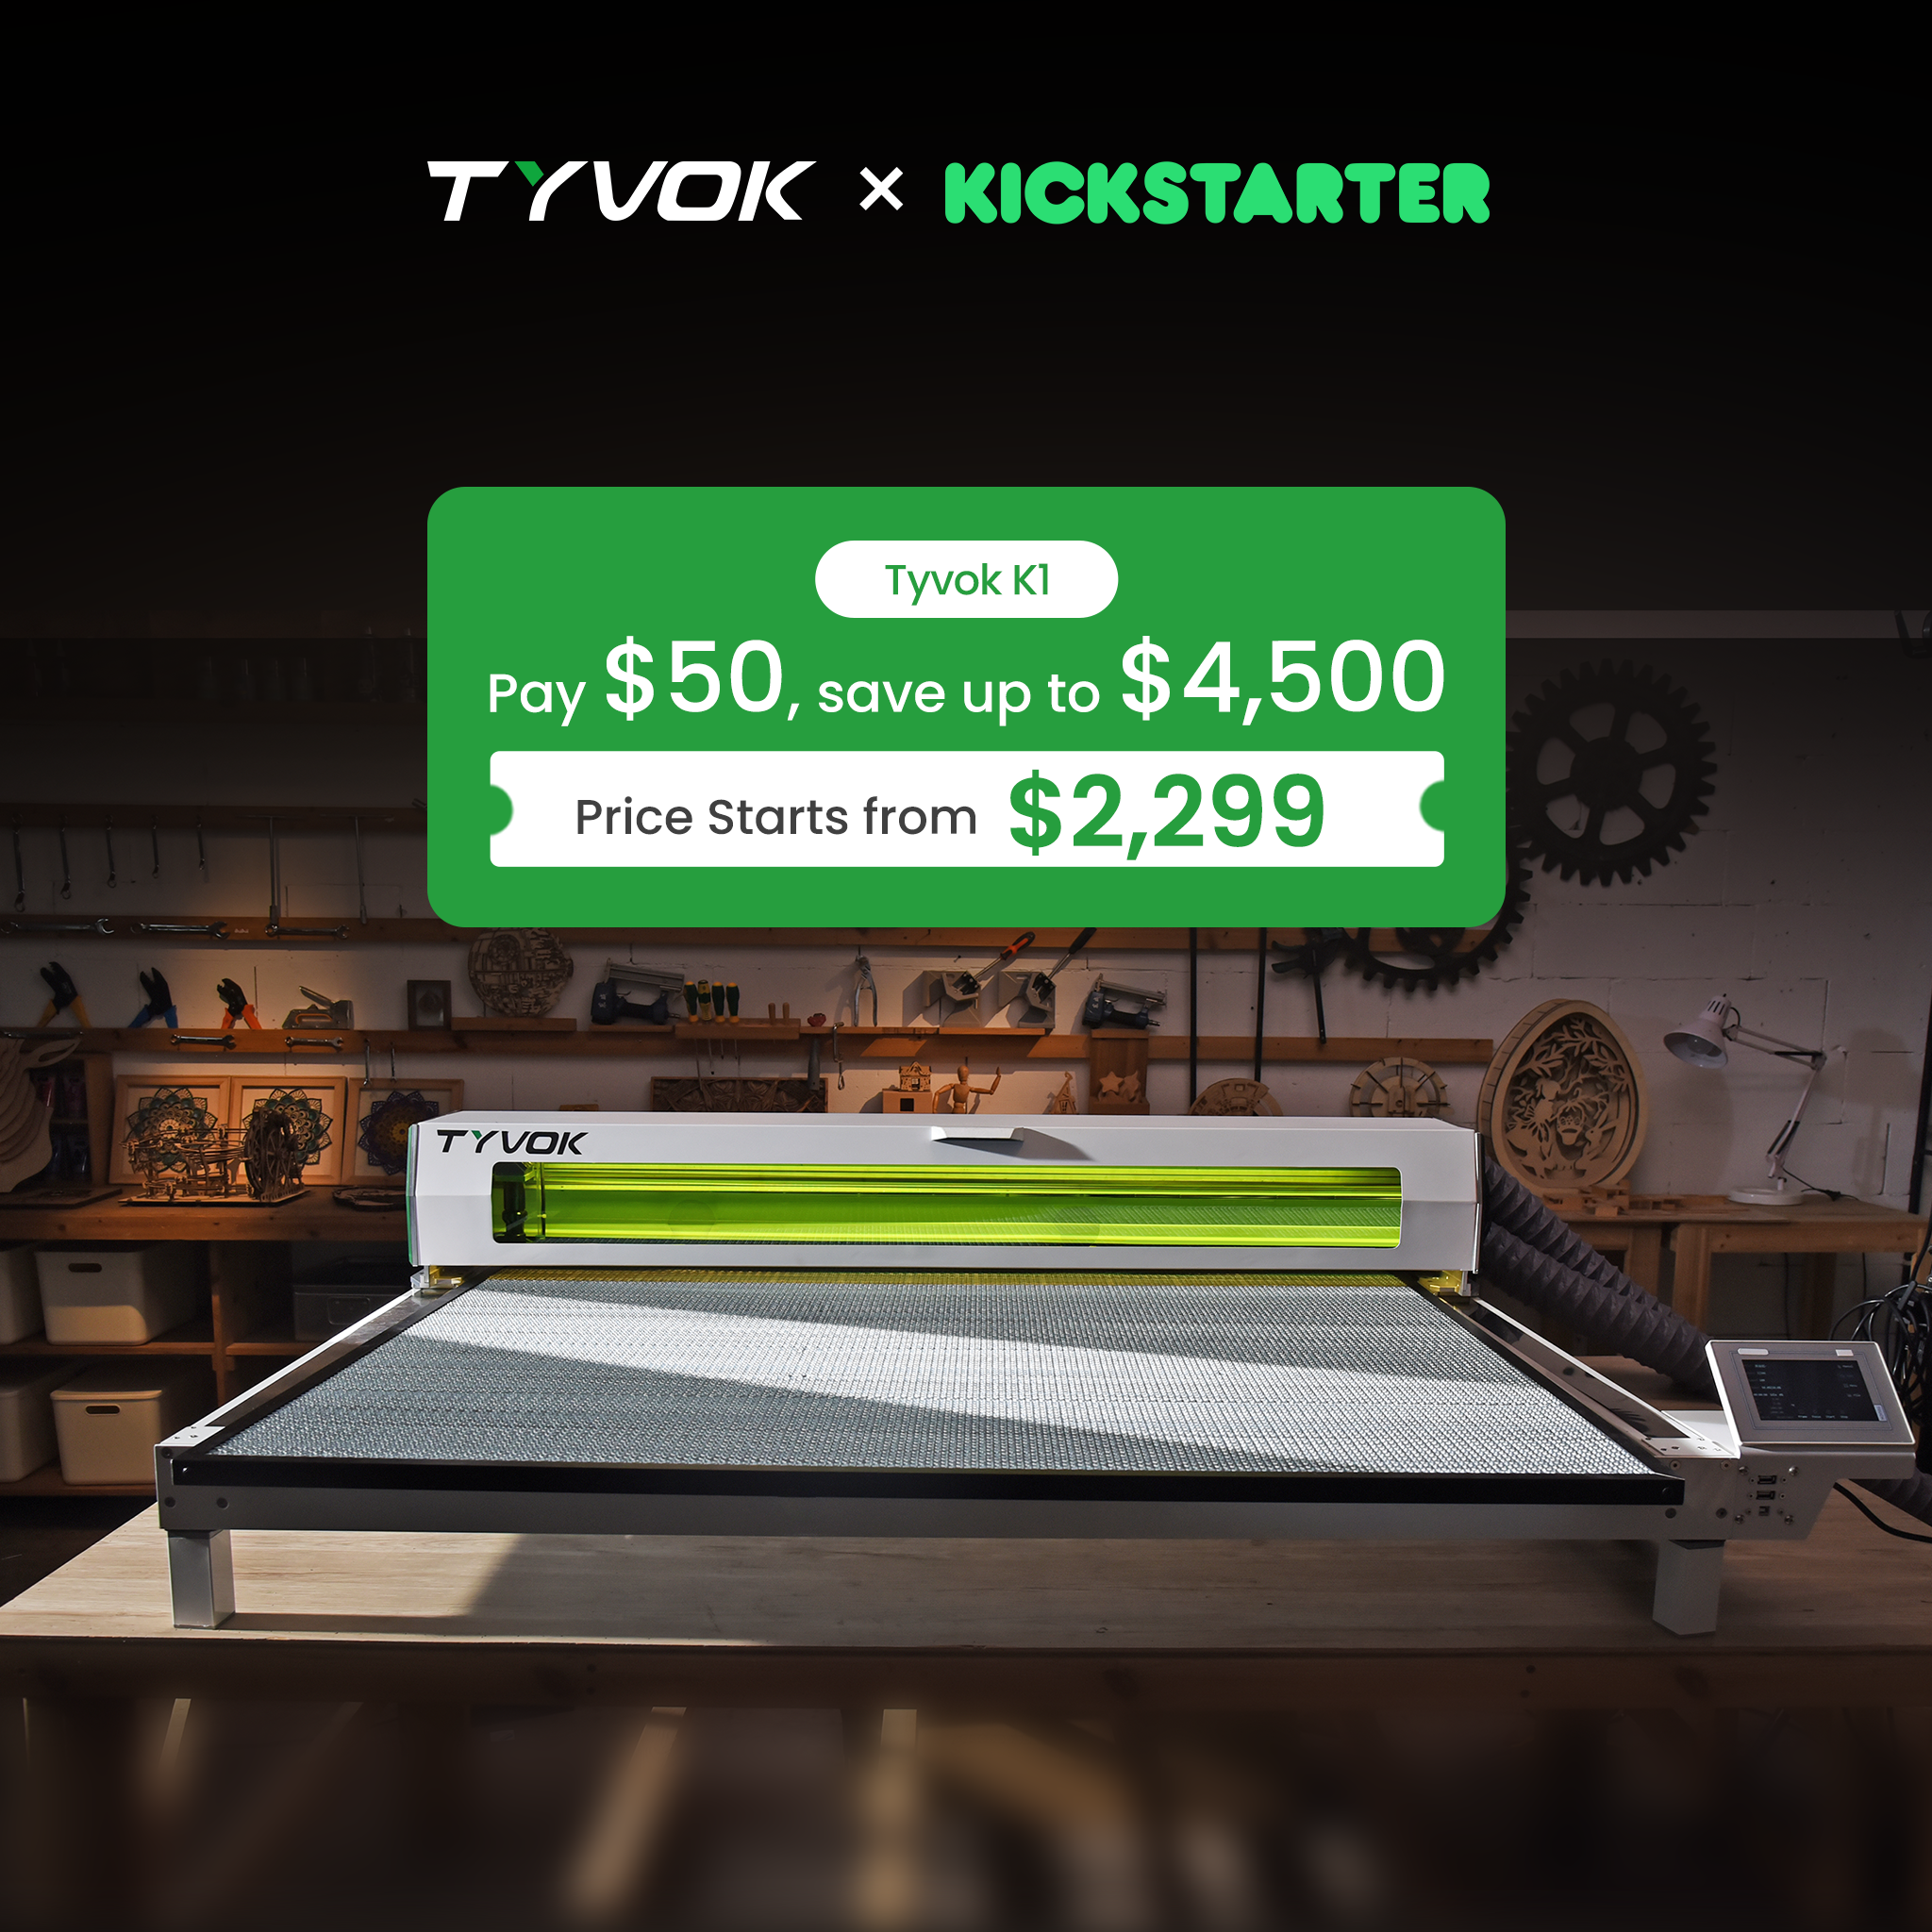
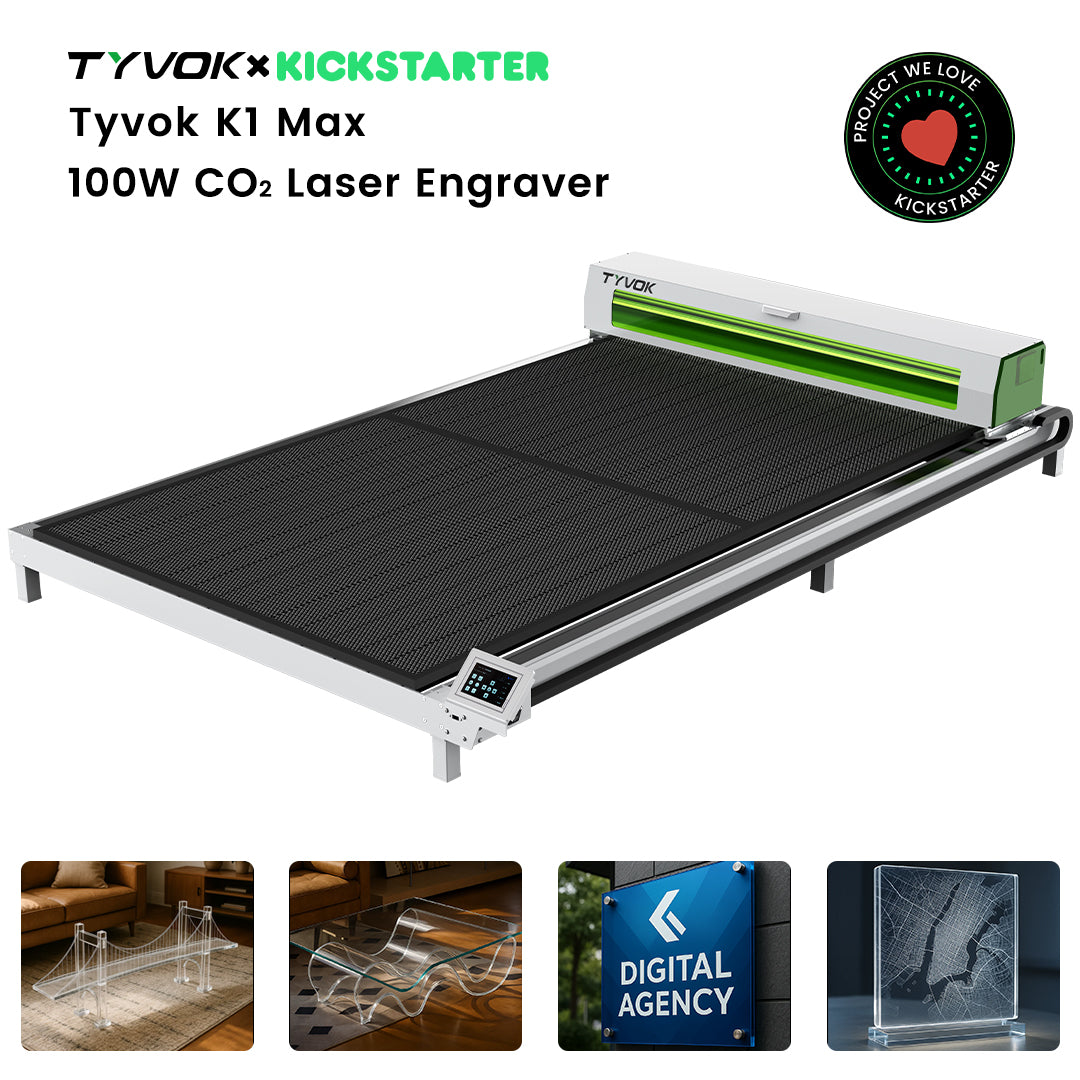
Using the Tyvok K1 100W CO₂ Laser Engraver, the TYVOK logo was cut from a black acrylic sheet. The machine ensures smooth, polished edges that need no additional finishing, making it ideal for front-facing display.

Step 3: Engrave the Wooden Base
The wooden board was engraved with the TYVOK logo and additional lettering. This not only stabilizes the structure but also adds a professional, textured layer, making the final product more dimensional.

Step 4: Assembly with Adhesive
Strong adhesive was used to attach the 3D printed letters to the acrylic logo. The layered look remains clear while ensuring a durable structure. Tip: using acrylic-specific glue or UV-curing adhesive gives the best results.

Step 5: Add the LED Lighting
An LED strip was carefully installed behind the hollow letters. This placement allows the letters to glow evenly. Tips include hiding wires along the frame and ensuring even light distribution.

Step 6: Final Showcase
The completed illuminated sign combines 3D printing, laser cutting, wood engraving, and LED lighting. The result is a clean, professional-looking sign that demonstrates the creative potential of the Tyvok K1.

Why It Matters
• Educational Showcase – Perfect for workshops and maker education, showing how different digital fabrication technologies can be integrated.
• Commercial Use – Small studios and signage businesses can quickly produce customized illuminated signs.
• Maker Inspiration – For Etsy sellers, DIY enthusiasts, and entrepreneurs, this project opens new creative and business possibilities.
Join the Movement
At Tyvok, we empower makers, entrepreneurs, and businesses with professional yet accessible tools. This illuminated sign case is just one example of what’s possible with the Tyvok K1 Modular 100W CO₂ Laser Engraver.
For more details, please watch the YouTube video:
