Overview
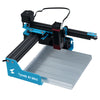
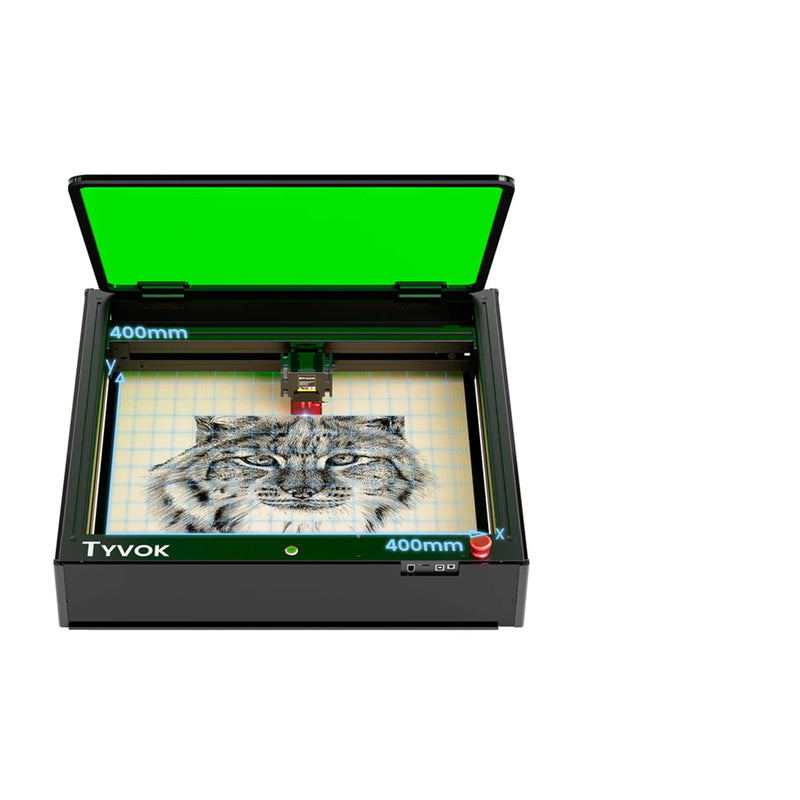
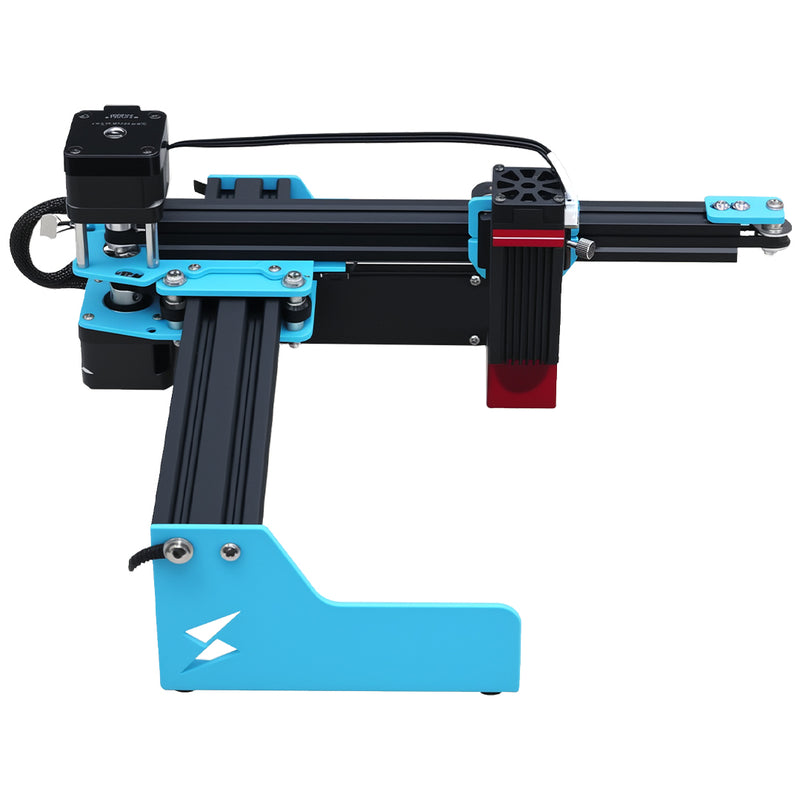
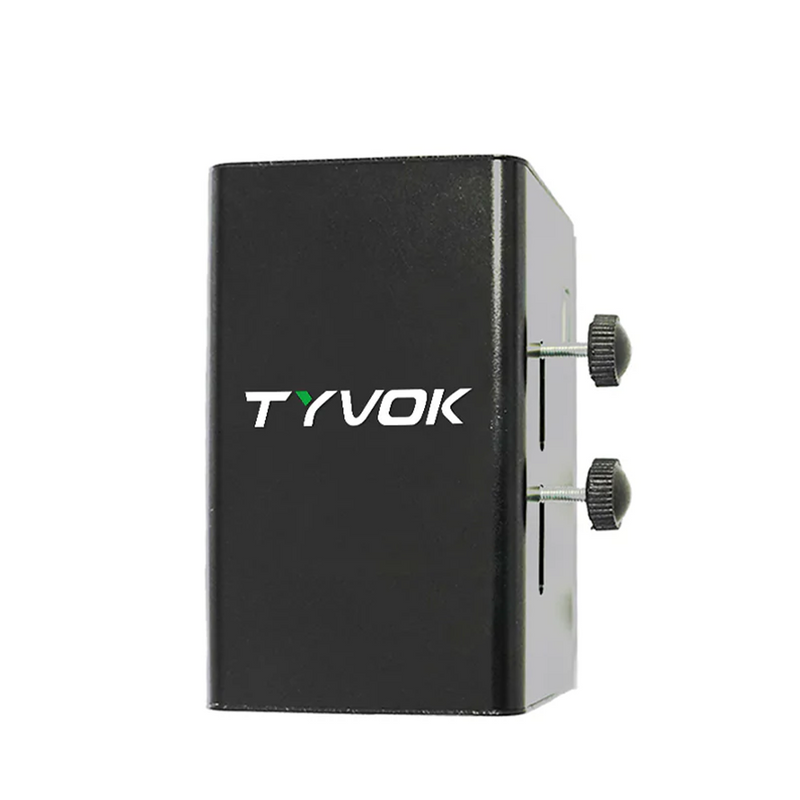
The Tyvok Spider S1 is a dual-purpose machine that combines laser engraving and CNC cutting in one device. Users can easily switch between laser and CNC modes. This guide offers step-by-step instructions for beginners on how to operate the CNC module, including installing the module, configuring LightBurn software, securing materials, generating CNC toolpaths, and performing safety checks before cutting or engraving. The Spider S1’s CNC module is directly controlled via LightBurn software, without the need for complex CNC G-code programming—the machine maps standard laser PWM (power) commands to control cutting depth.
The S1 CNC module features a spindle with approximately 200W of power and speeds up to 10,000 RPM. It is suitable for soft materials such as wood, acrylic, plexiglass, PVC, and PVB plastics. With the CNC module, you can perform multiple passes to cut through thick wooden boards or acrylic sheets (up to about 20 mm deep), which is often not possible using a laser alone. Notably, the CNC module can even cut clear acrylic and produce clean, smooth edges—something nearly impossible with diode lasers. This enables new project types, such as wood relief carvings or acrylic storage boxes, while combining laser engraving for fine details.
Safety Precautions
Before operating the CNC module, please read and follow these safety precautions to ensure a safe and smooth cutting process:
1. - Wear safety equipment: Always wear safety goggles when using the CNC module to protect your eyes from debris. If the noise level is high, wear earplugs or earmuffs. When working with dusty materials like wood, wear a dust mask.
2. - Ensure good ventilation: Although CNC cutting does not produce laser smoke, it does generate dust and odors. Operate in a well-ventilated space and consider using a dust extractor or vacuum system.
3. - Keep the workspace clean and avoid loose clothing: Ensure your surroundings are tidy. Tie back long hair and avoid wearing loose clothing or accessories that could be caught in the machine. Never reach inside the machine during operation.
4. - Know how to stop the machine in an emergency: Familiarize yourself with the software's Pause and Stop buttons. In case of emergency, first click 'Pause' or 'Stop' in the software, then press the physical spindle knob on the module to stop rotation. Always stop the software first to prevent tool damage.
5. - Unplug before maintenance: Always turn off and unplug the machine before replacing tools, switching modules, or performing maintenance tasks.
Following the above guidelines will help ensure your safety and the optimal performance of the CNC module. Next, let’s start installing and using the module step by step.
Step 1: Installing the CNC Module and Tool Bit
1. Turn off and unplug the S1 machine before installation.
2. Open the top cover to access the laser module area. Remove the laser module by unplugging the cable and loosening the screws or clamp. Store it safely.
3. Install the CNC spindle module in the same position. Make sure it is properly aligned and secured. Connect the control cable to the CNC module.
4. Insert the appropriate end mill (e.g., 3.175 mm or 1/8") into the spindle. Insert about 10–15 mm deep and tighten it using the provided wrench. Avoid overtightening.
5. Confirm that the CNC module is stable and that the cooling fan or ventilation holes are not blocked. Close the machine's top cover after installation.
Step 2: Securing the Work Material
1. If you plan to cut through the material, place a sacrificial board (spoilboard) underneath to protect the machine’s base.
2. Lay the workpiece (e.g., wood, acrylic) flat on the platform. Ensure the surface is even and stable.
3. Use strong double-sided tape or clamps to secure the material. Make sure it cannot shift during cutting. For large boards, fix the four corners. For small pieces, place the material under the CNC head area.
4. Test the stability of the material by gently pressing on it. Loose material may result in imprecise cutting or damage to the bit.
5. Use LightBurn to move the CNC head in X and Y directions to make sure the bit doesn’t collide with clamps. Also ensure the bit clears the surface when the Z-axis is at its upper limit.
Step 3: Software Setup and Toolpath Generation (LightBurn)
1. Open LightBurn and connect to the S1 via USB or network. Confirm the status shows 'Ready' or 'Connected'. Set the origin if needed.
2. Import or create your design file (SVG, DXF, etc.). Tyvok also provides S1 CNC-compatible files at: https://tyvok.com/pages/softwares
3. Use the Offset tool to create compensation paths. Offset based on the bit radius (e.g., 1.59 mm for a 3.175 mm bit) and whether you're cutting inside or outside.
4. Assign each shape to a layer in LightBurn. Set the mode to 'Line'. Use layer power settings to represent cutting depth.
5. For thick materials, split cutting into multiple layers with increasing power. For example, 10 layers increasing from 10% to 100% for 10 mm material.
6. Use 'Frame' in LightBurn to preview the toolpath and make sure it avoids clamps and stays within material boundaries.
Step 4: Z-Axis Calibration and Depth Setting
1. Power on the S1 and enter CNC mode. The spindle screen will light up. Make sure the spindle is not rotating.
2. In the screen menu, select 'Reset' to raise the Z-axis to its top limit and record this position.
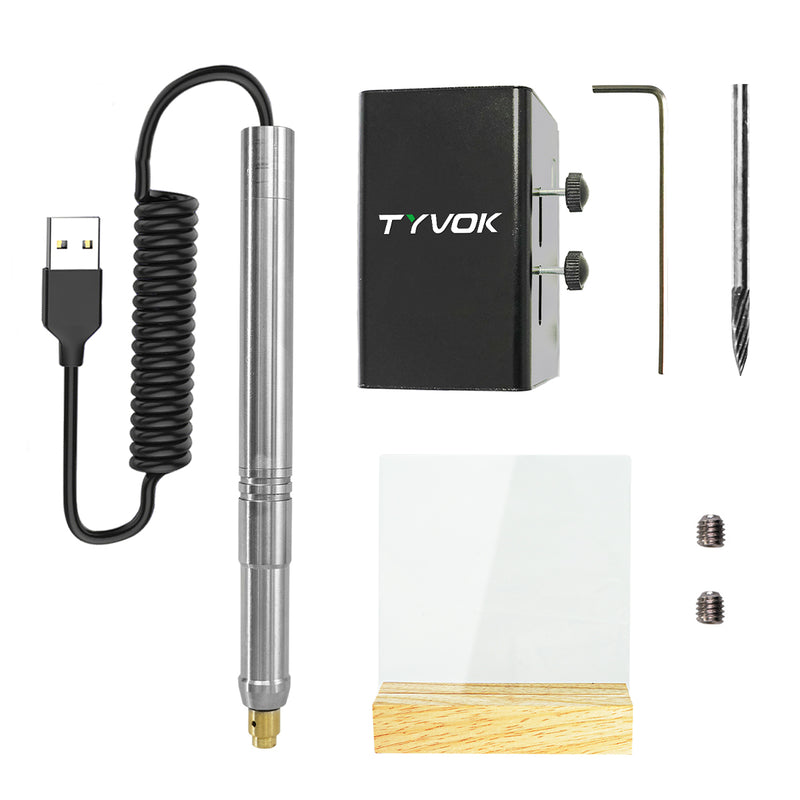
3. Plug in the Z-axis probe. Place the metal probe plate on the surface of the material, and clip the alligator clip to the tool bit.
4. On the screen, select 'Tool Set'. The tool will lower automatically. When it touches the probe plate, the circuit closes and sets Z = 0.
5. Remove the probe plate and clip. In the screen menu, set the cutting depth (e.g., 5 mm for deep cuts, 2 mm for engraving).
6. Press 'Start' on the CNC screen. The spindle will spin at the default speed (typically 10,000 RPM) and wait for LightBurn to send the toolpath instructions.
Step 5: Start Cutting and Monitor Operation
1. In LightBurn, double-check all settings and click 'Start' to begin the cutting process.
2. Observe the first pass to ensure the bit is cutting at the desired depth and everything is running smoothly.
3. Allow the job to continue automatically. Do not leave the machine unattended during operation.
4. To pause, click 'Pause' in LightBurn. Note: the spindle may continue to spin.
5. To stop completely, first click 'Stop' in LightBurn, then press the spindle’s knob to halt the spindle rotation. Always stop the software first to avoid damaging the bit or material.
Post-Processing and Cleanup
1. When the job is finished, the spindle will automatically lift and return to the origin. Press the knob to stop the spindle rotation.
2. Carefully remove the processed material. Edges may be sharp or hot—use gloves if necessary.
3. Clean the machine surface and work area. Use a vacuum or brush to remove chips and dust. Regular cleaning extends machine life and improves safety.
4. If switching back to laser mode, power off the machine. Unplug the CNC module and reinstall the laser module in the original position.
5. Reconnect the laser cable and ensure the module is stable. Close the top cover. You are now ready for laser mode.
6. Store your CNC tools, end mills, and Z probe safely for future use. Avoid exposing sharp tools to moisture or impact.
You're all set! With proper operation and care, the LightBurn-cnc-in-one">Tyvok Spider S1 CNC module will empower your creativity across a wide range of materials.
