


How to Laser Engrave Glass: Tips & Tricks for Perfect Frosted Results in 2026
Meta Description: Want to start laser engraving glass? Our 2026 beginner's guide covers everything from safety to settings, with pro tips for getting perfect frosted results every time.
Introduction
Laser engraving glass creates beautiful, permanent, frosted designs that are perfect for custom gifts like wine glasses, beer mugs, awards, and decorative glass pieces. But many beginners are intimidated by glass engraving because it can be tricky to get good results without cracking or chipping.
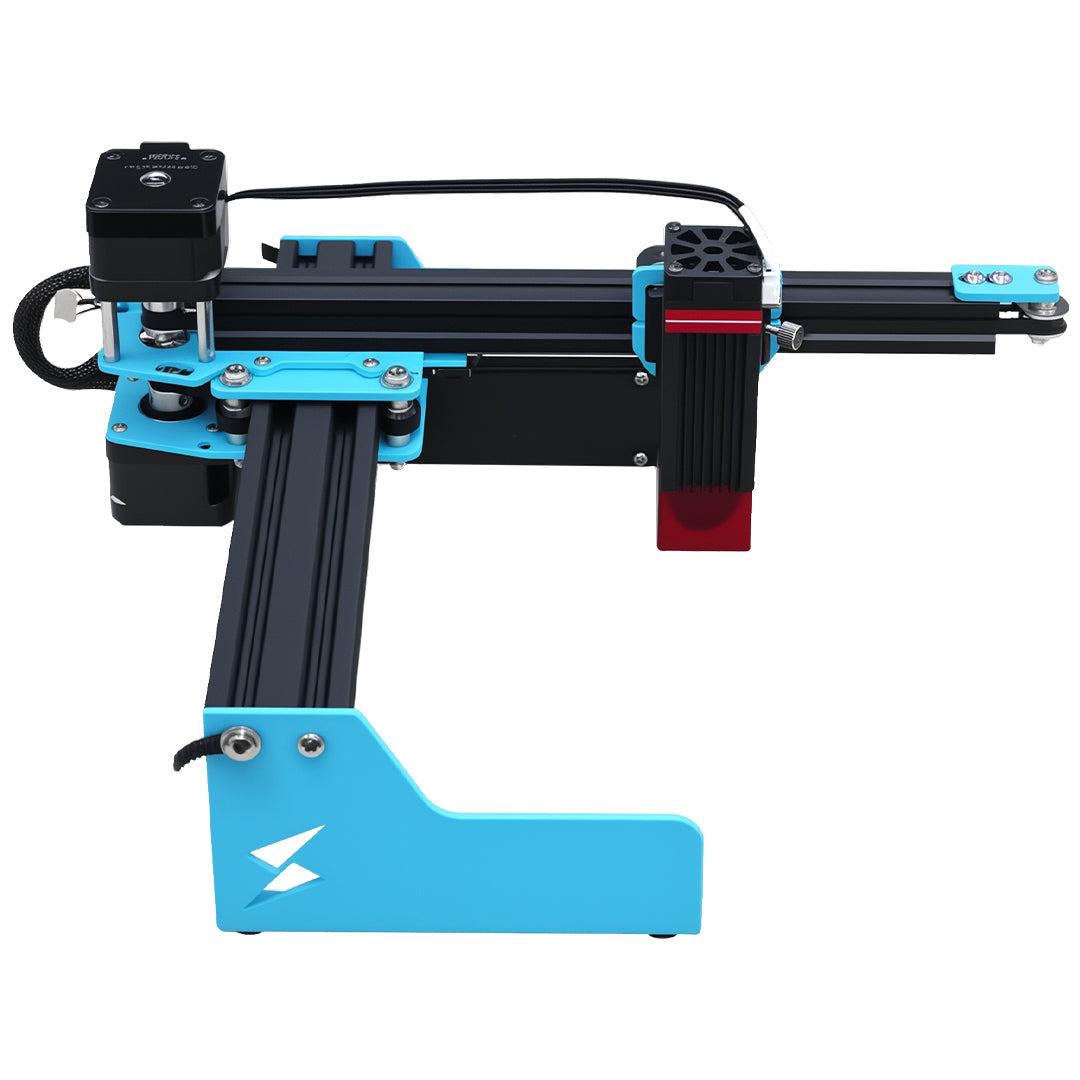
The good news is that with the right techniques and settings, you can get great glass engraving results even with a moderately-powered diode laser like the Tyvok A1 Mini. You don't need a high-powered CO2 laser to do beautiful glass engravings. If you're looking for a portable option with faster engraving speeds, the Tyvok P2 galvo laser is also an excellent choice that can handle glass engraving projects.
In this guide, we'll walk you through everything you need to know to get started laser engraving glass, including safety, settings, preparation techniques, and pro tricks to prevent cracking and get that perfect frosted finish.
Can Any Laser Engrave Glass?
The short answer is: yes, most lasers can engrave glass, but the results depend on the laser power and your technique.
- Diode lasers (5W-10W): Can definitely engrave glass. You'll get a frosted finish, though you might need multiple passes for deeper, more visible engravings. The Tyvok A1 Mini 5W works great for glass engraving.
- CO2 lasers (40W+): Excellent for glass engraving, can get deeper frosted results in fewer passes.
-
Fiber lasers: Also work very well for glass engraving, producing clean results.
The key is understanding that laser engraving on glass works by fracturing the surface of the glass to create a frosted appearance. You're not really removing material like you would with wood or acrylic – you're creating microscopic cracks that scatter light, giving you that white frosted look.
Safety First
Before you start engraving glass, there are some important safety considerations:
- Always wear eye protection: Even though you're wearing protection for the laser, glass dust and shards can fly if something breaks. Make sure your laser enclosure keeps you protected.
- Ventilation: When you engrave glass, you're creating fine glass dust. Make sure your ventilation system is working properly to keep it out of your breathing air.
- Handle broken glass carefully: If your glass cracks during engraving (which can happen to beginners), carefully remove it from your laser and dispose of it properly in a puncture-resistant bag.
- Check for tempered glass: Never engrave tempered glass. The stress from the engraving can cause it to shatter violently. Stick to regular untempered glass.
- Heat safety: The laser will heat up the glass during engraving. Let it cool completely before handling.
Preparation Techniques to Prevent Cracking
One of the biggest challenges with glass engraving is preventing cracking or chipping. The good news is that there are several simple preparation techniques that dramatically reduce the risk of cracking.
Technique 1: Wet Paper Towel Method
This is the most common method used by beginners, and it's very effective:
1. Cut a piece of paper towel to fit the area you're going to engrave
How it works: The water helps dissipate heat from the laser, preventing the glass from heating unevenly and cracking. It also helps reduce splatter.
Technique 2: Masking Tape Method
Another popular approach:
1. Apply a layer of low-tack masking tape to the entire engraving area 2. Smooth it out carefully to remove any bubbles or wrinkles 3. Spray the masking tape with a light coat of water (or leave it dry – both work) 4. Engrave through the tape 5. Remove the tape after engraving
How it works: The tape helps absorb some of the heat and can help prevent large cracks from forming. It also catches some of the glass dust, making cleanup easier.
Technique 3: Cerium Oxide Paste Method (Pro Tip)
This is used by experienced glass engravers for ultra-smooth results:
1. Mix cerium oxide powder with a little water to make a thin paste 2. Spread the paste evenly over the engraving area in a thin layer 3. Let it dry completely before engraving 4. Engrave as normal 5. Clean off the paste after engraving
Advantages: Produces a smoother, more uniform frosted finish and helps prevent cracking. The downside is that it's an extra step and requires buying cerium oxide.
Which Preparation Method Should You Start With?
For beginners, we recommend starting with the wet paper towel method. It's cheap, easy, and doesn't require any special materials. Most of the time, it works great for preventing cracking. Once you get more experienced, you can try other methods if you want to experiment.
Recommended Settings for Diode Lasers
Here are starting settings for glass engraving with a 5W diode laser like the Tyvok A1 Mini. Remember that every machine is different, so always test on a piece of scrap glass first if you can.
| Technique | Power | Speed | Passes | Notes |
|---|---|---|---|---|
| Wet paper towel | 30-50% | 150-200 mm/s | 2-3 | Multiple passes give better frosted results |
| Dry with masking tape | 25-40% | 200-250 mm/s | 2-3 | Lower power to reduce heat buildup |
| Cerium oxide paste | 35-55% | 150-200 mm/s | 1-2 | Paste helps with heat dispersion |
Key Setting Tips:
- Multiple lighter passes are better than one high-power pass: High power creates more heat, which increases the risk of cracking. Multiple lighter passes give better results with less risk.
- Lower DPI for larger areas: 300-500 DPI is plenty for most glass engravings. Higher DPI takes longer and creates more heat.
-
Focus is critical: Make sure your laser is perfectly focused on the glass surface. If you're engraving a curved surface (like a wine glass), you may need to use a rotary attachment.
What Types of Glass Can You Engrave?
Not all glass is created equal. Here's how different glass types work for laser engraving:
Good Choices for Beginners:
- Soda-lime glass (most common glassware): This is what most drinking glasses, wine bottles, and windows are made of. It engraves well and is less prone to cracking than other types.
- Lead crystal: Engraves beautifully with a very nice frosted finish. More expensive, but great for high-end gifts.
-
Ordinary window glass: Cheap and easy to find, great for practice.
Trickier (But Possible):
- Borosilicate glass (Pyrex): More heat-resistant, so it's actually less likely to crack. But it's harder, so you need more power for good frosted results.
- Colored glass: Engraves fine, but the contrast depends on the color. Dark colored glass gives less contrast than clear glass.
-
Thin glass: More prone to cracking. Use lower power, multiple passes, and definitely use the wet paper towel method.
Avoid:
- Tempered glass: As mentioned earlier, never engrave tempered glass. It can shatter violently due to internal stresses.
- Laminated glass: The plastic interlayer doesn't engrave well and can release toxic fumes.
-
Glass with heavily textured surfaces: Hard to get a flat focus, results are inconsistent.
Step-by-Step Beginner Glass Engraving
Let's walk through the complete process using the wet paper towel method, which is best for beginners:
Step 1: Prepare your design
Step 2: Prepare your laser and glass
- Secure the glass firmly to your laser bed. If it's curved, use a rotary attachment if you have one. If not, make sure it can't roll.
- Clean the glass surface with rubbing alcohol to remove any oils or dirt.
Step 3: Apply the wet paper towel
Step 4: Set your focus
Double-check that your laser is properly focused on the glass surface. This is critical for good results.Step 5: Run the first pass
Run your first pass with the starting settings we recommended above.Step 6: Check and repeat
After the first pass, carefully check your results. You can do a second or third pass if you want a darker, more frosted appearance. If you're using the wet paper towel method, you may need to re-wet it if it dries out between passes.Step 7: Clean up
When you're done engraving, remove the paper towel and wash the glass with warm, soapy water to remove any glass dust and residue. Dry it with a soft cloth.Step 8: Inspect for cracks
Examine the glass carefully for any cracks. If you followed the instructions and used lower power with multiple passes, you should be fine. If you do see small cracks, they're usually just surface cracks and won't spread, but be careful handling.Pro Tips for Better Results
Even with the right technique, these pro tips will help you get better glass engravings:
- Start thick: When you're a beginner, start with thicker glass. Thicker glass is less prone to cracking than thin glass. Once you get the hang of it, you can move to thinner pieces.
- Keep it cool: If you're doing a large engraving, pause between passes to let the glass cool down. This reduces heat buildup that can cause cracking.
- Use low tack tape if needed: If the wet paper towel is too bulky or doesn't stay in place on curved surfaces, try low-tack masking tape instead.
- Clean thoroughly after engraving: Glass dust can be slippery and sharp. Make sure you clean all the dust off your laser bed and the engraved piece before handling.
- Experiment with different glasses: Different brands and types of glass engrave differently. Keep notes on what settings work for what glass – this will save you time in the future.
- Use a rotary attachment for curved glass: If you're going to be engraving a lot of wine glasses, mugs, or bottles, a rotary attachment is well worth the investment. It holds the glass securely and keeps it perfectly focused as it rotates.
- Don't press too hard when cleaning: After engraving, the surface is fractured – scrubbing too hard can cause chipping. Use a soft brush and gentle cleaning.
Common Beginner Problems and Solutions
Problem: The glass cracked during engraving
- Solution: You probably used too much power. Next time, lower your power and do more passes. Always use the wet paper towel method to help with heat dispersion.
Problem: The engraving is faint/hard to see
- Solution: You need more contrast. Do another pass or two with slightly higher power. Make sure your laser is properly focused.
Problem: The frosted finish is uneven
- Solution: This is often caused by inconsistent focus (especially on curved glass) or the paper towel being wrinkled. Make sure everything is flat and properly focused.
Problem: The paper towel dried out during a long engraving
- Solution: For large engravings, re-wet the paper towel halfway through or use masking tape instead.
Problem: I get tiny chips around the edges of my design
- Solution: Try using lower power and slower speed. Make sure your laser is in focus. Some glass types are more prone to chipping than others.
Popular Glass Engraving Project Ideas for Beginners
If you're looking for inspiration, here are some great beginner glass projects:
- Custom engraved wine glasses for weddings or gifts
- Personalized beer mugs and tumblers
- Engraved glass coasters (use thick glass)
- Custom etched mirrors (see our separate guide on mirror engraving)
- Decorative glass bottles with etched designs
- Glass awards and trophies
- Customized glass Christmas ornaments
- Engraved drinking glasses as personalized gifts
Final Thoughts
Laser engraving glass isn't as hard as many beginners think. With the right preparation technique (we love the wet paper towel method for beginners), proper settings, and a little bit of patience, you can get beautiful frosted results even with a 5W diode laser.
The key is to start with cheap practice glass (like old glass bottles or thick window glass from the hardware store) and experiment with settings before you move on to expensive glassware. Keep notes on what works, and pretty soon you'll be creating beautiful custom engraved glass gifts that people love.
Ready to try glass engraving? The Tyvok A1 Mini 5W diode laser has more than enough power for great glass engraving results, and it's perfect for beginners getting started with glass projects. If you're looking for a portable galvo laser that can handle fast glass engraving, check out the Tyvok P2.
For more material guides, check out our complete list of materials you can engrave with a 5W diode laser.