


Short answer: Use this TYVOK K1 Pro 100W CO2 page as a starter settings record. Run a material test grid on the exact blank, then save speed, power, passes, focus, cleanup, and supplier details before customer work.
Laser engraving settings chart
TYVOK material settings
TYVOK buying guide
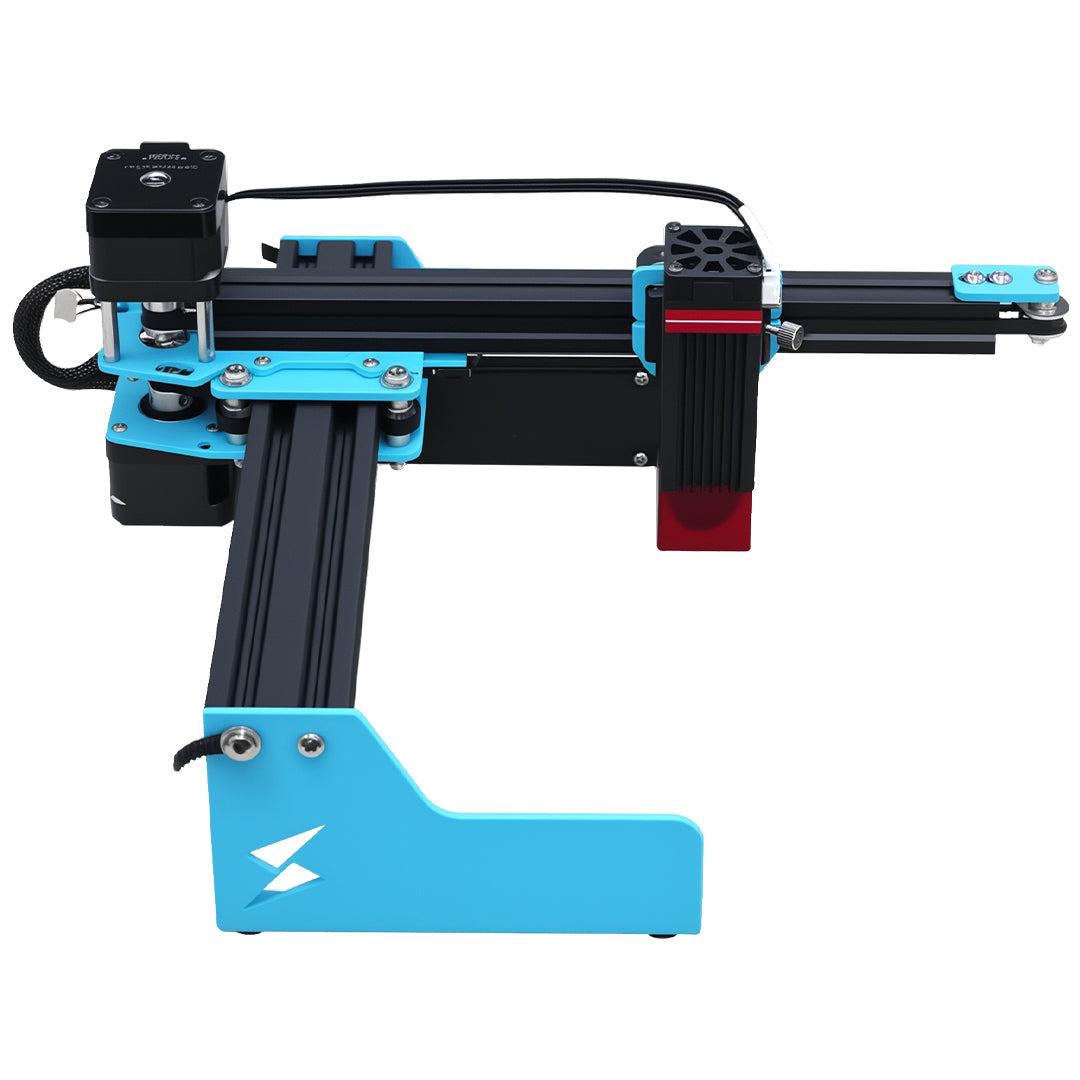
Shop TYVOK K1 Pro 100W CO2
TYVOK K1 Pro 100W CO2 starter settings table
| Material | Starter speed | Power | Passes | Test note |
|---|---|---|---|---|
| Clear acrylic engraving | mm/s engrave grid | Low to medium | 1 | CO2 is the correct path for clear acrylic. |
| Acrylic sign detail | mm/s engrave grid | Low | 1 | Masking and cleanup affect finish. |
| Engrave plus cut job | separate grids | Low to high | 1+ | Keep engraving and cutting settings separate. |
How to turn the setting into a repeatable product
Confirm the software unit first, then keep one saved record per material. A reliable TYVOK workflow should include the material source, machine power, test photo, cleanup step, and final customer-ready inspection.
When to compare another TYVOK machine
If the project changes material family, work area, or production volume, compare the TYVOK settings chart and buying guide instead of forcing one preset across P2, P2 Ultra, X1S, X1S Pro, and K1 Pro.