


How to Start Laser Engraving with No Experience: Step-by-Step Guide for 2026
So you've seen all the amazing laser engraved projects online and you're ready to give it a try – but you have no experience and don't know where to start. How do you actually start laser engraving when you're a complete beginner?
Don't worry – you're in the right place. Laser engraving is actually much easier to get into than it used to be, and you don't need a huge budget or technical background to start creating awesome projects today.
In this step-by-step guide, we'll walk you through everything you need to know to get started with laser engraving as a complete beginner, from choosing your first machine to completing your first project. By the end of this guide, you'll know exactly what to do next.
Step 1: Choose Your First Laser Engraving Machine (What You Need to Know)
The biggest decision you'll make when getting started is choosing your first machine. With so many options available, it can feel overwhelming – but it doesn't have to be.
Different Types of Laser Engravers for Beginners
There are two main types of laser engravers you'll see when you're starting out:
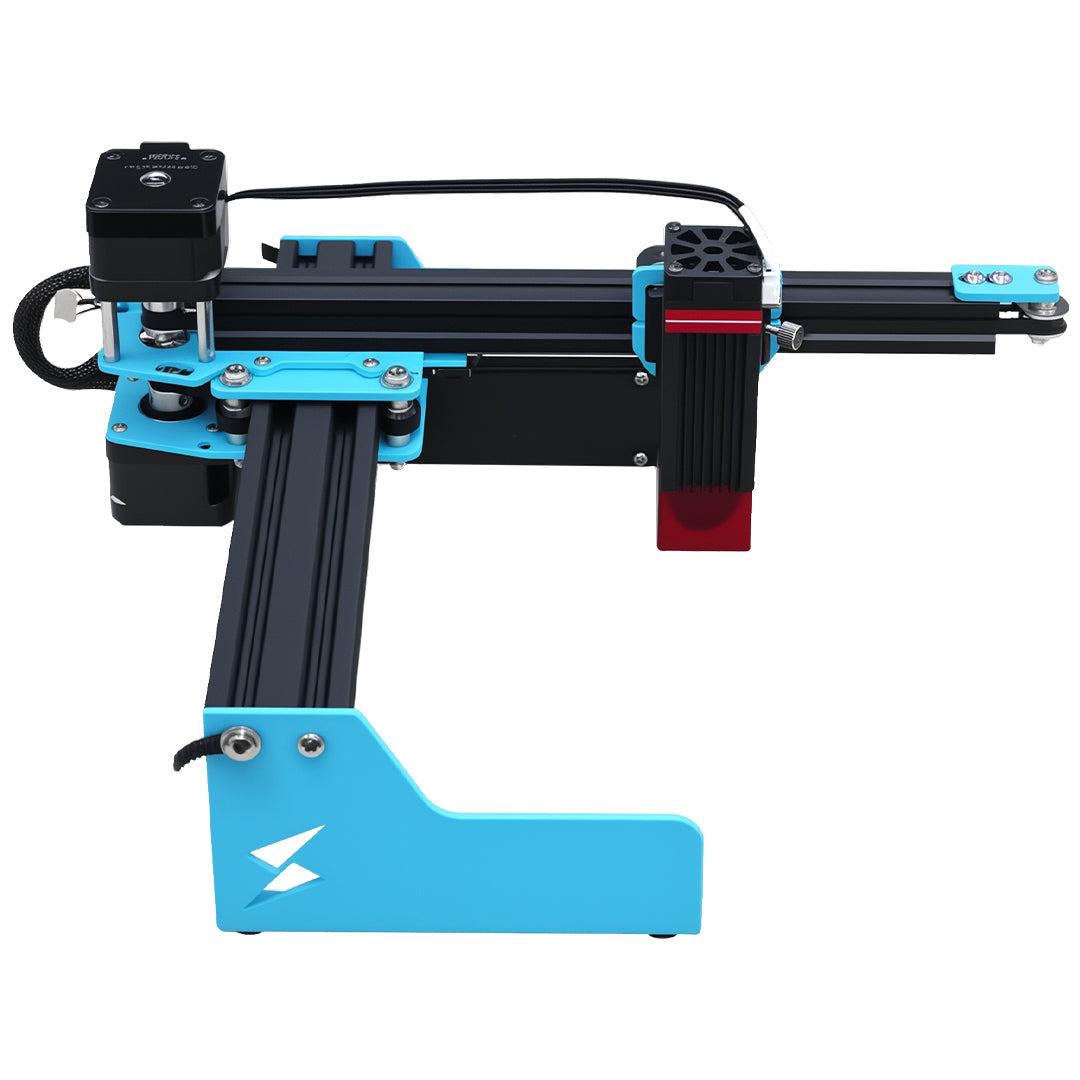
Gantry Lasers: These are the traditional large-frame lasers that move the laser head along X and Y axes. They typically have larger engraving areas but are much slower. Good if you need to engrave large items like cutting boards, but overkill for most beginners starting out.
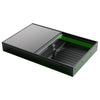
Galvo Lasers: These use mirrors to move the laser beam, which makes them 15-24x faster than gantry lasers. They're typically more compact, more affordable, and perfect for small to medium projects – which is what most beginners start with.
What to Look for in a Beginner Machine
When you're choosing your first laser engraver, keep these things in mind:
-
Actual optical power vs. interpolated power: Many cheap lasers advertise "50W" or even "100W" but that's just interpolated power. Actual optical power is what matters. Look for at least 5-10W actual optical power.
-
Price point for beginners: You don't need to spend thousands. There are excellent beginner options under $500 that will handle 90% of the projects you'll want to do.
-
Ease of use: Look for machines that come with everything you need out of the box, don't require complicated assembly, and have good software support.
-
Safety features: Emergency stop, enclosed design (or proper shielding), and overheat protection are must-haves.
Our Top Recommendation for Beginners in 2026
For most beginners with no experience, we recommend the Tyvok P2 10W Galvo. Here's why it's perfect when you're just getting started:
- Affordable: Under $500 – no need to break the bank to get started
- 10W actual optical power: Can engrave all common materials: wood, acrylic, leather, glass, coated metal, stone, and more
- Extremely fast: 15-24x faster than traditional gantry lasers – you'll finish projects in minutes instead of hours
- No assembly required: Comes pre-calibrated – just unbox, plug in, and start engraving
- Compact and portable: Easy to fit on a desk or workbench, and you can even take it to events if you decide to sell your work
- Great safety features: Fully enclosed design with emergency stop button
For complete beginners, this machine really can't be beaten at this price point in 2026.
Step 2: Gather Your Essential Accessories
Once you've got your machine, you'll need a few essential accessories to get started. The good news is you don't need much, and most of these are cheap.
Must-Have Accessories for Beginners:
1. Safety Glasses
- Always get laser safety glasses rated for your laser's wavelength (usually 455nm for blue lasers)
- Never engrave without them – even if your machine is enclosed
2. Ventilation
- Laser engraving produces fumes, and you don't want to breathe them in
- A simple desktop fume extractor works great for beginners
- If you don't have an extractor, you can also use a small fan blowing out a window (just make sure the fumes are vented outside)
3. Honeycomb Workbed
- A honeycomb workbed helps with air circulation and prevents back burning on your projects
- Most machines come with one, but if yours doesn't, they're inexpensive to add
4. Masking Tape
- Low-tack masking tape helps prevent residue on your material and keeps your engravings clean
- Especially useful when engraving glass, acrylic, and coated metals
5. Test Materials
- Pick up some cheap sample materials to practice with: basswood sheets, acrylic blanks, leather scraps, cork coasters
- These don't cost much and let you experiment without wasting expensive materials
That's really all you need to get started. You can always add more accessories later as you take on more complex projects.
Step 3: Set Up Your Workspace Safely
Safety should always be your top priority when setting up your laser engraving workspace. The good news is, creating a safe workspace doesn't require much.
Choose the Right Location
- Stable surface: Put your machine on a stable workbench or desk – avoid wobbly surfaces
- Clear the area: Keep flammable materials away from your machine when it's running
- Good ventilation: Make sure your fume extraction is set up and working before you turn on the laser
- Space around the machine: Leave a few inches of clearance around all sides for ventilation
Basic Safety Rules Every Beginner Should Follow
- Never leave your machine unattended while it's running – especially when you're just starting out
- Always wear safety glasses when operating your laser
- Make sure fumes are properly vented outside – don't let them build up in your workspace
- Keep a fire extinguisher nearby – it's cheap insurance and gives you peace of mind
- Don't engrave unknown materials – some materials (like PVC) produce toxic fumes when lasered. Stick to known safe materials when starting out.
Step 4: Learn the Basic Software
One of the biggest concerns beginners have is "do I need to be a tech expert to use the software?" The answer is no – modern laser software is actually very user-friendly, even for complete beginners.
Most entry-level machines like the Tyvok P2 work with popular free software like LightBurn (which has a free trial) or LaserGRBL (which is completely free).
What You'll Need to Know as a Beginner:
You really only need to master these basic functions to get started:
- Importing images: You can import JPG, PNG, SVG, and DXF files – it's usually just drag and drop
- Resizing your design: Scaling your design to fit your material
- Setting power and speed: Different materials require different power and speed settings. Most machines come with a handy settings chart you can reference.
- Focusing your laser: Modern machines often do this automatically, but it's good to know how to do it manually if you need to
- Sending the job to your machine: Usually just one click once your design is ready
The best way to learn is just to jump in – most people are surprised how quickly they pick it up. LightBurn has excellent free tutorials on their YouTube channel that will walk you through everything step by step.
Step 5: Do Some Test Runs and Practice
Before you jump into your first "real" project, do a few test runs on cheap practice materials. This helps you get comfortable with the machine and find the right settings for different materials.
How to Practice Effectively:
- Start with a simple design: A basic shape, some text, or a simple logo is perfect for testing
- Try different materials: Test on wood, acrylic, leather – get a feel for how the laser interacts with each one
- Try different power/speed settings: Note what looks good for each material. Write down your favorite settings so you can reference them later.
- Practice focusing: If your machine requires manual focusing, practice this until it feels natural
- Get comfortable with the workflow: Practice going from design to finished engraving – the more you do it, the more comfortable you'll get
Don't worry about making mistakes at this stage – that's how you learn. Everyone makes mistakes when they're starting out, and that's completely normal.
Common Mistakes Beginners Should Avoid
Even with the best preparation, beginners often make the same mistakes. Here's what to watch out for so you can avoid them:
Mistake 1: Spending Too Much on Your First Machine
You don't need a $3,000+ industrial machine when you're starting out. Many beginners overbuy and end up with a machine that's way more powerful than they need, and they've invested a ton of money before they even know if they'll enjoy the hobby. Start with an affordable option like the Tyvok P2 10W Galvo, get some experience, and upgrade later if you need to.
Mistake 2: Ignoring Safety
It doesn't matter if you're just doing a quick test – always follow safety rules. Wear your safety glasses, make sure your ventilation is on, and never leave the machine unattended. Safety isn't expensive – it's essential.
Mistake 3: Engraving Unsafe Materials
Stick to known safe materials when you're starting out: wood, acrylic, leather, cork, glass, coated metal. Never engrave PVC, vinyl, or treated woods that contain toxic chemicals – they produce dangerous fumes when lasered.
Mistake 4: Not Focusing Correctly
Out-of-focus laser beams produce weak, blurry engravings. Take the extra 30 seconds to make sure your laser is properly focused before every job. It makes a huge difference in the quality of your finished project.
Mistake 5: Trying to Do Too Much Too Soon
Don't try to tackle a complex 100-piece wedding order as your first project. Start small, master the basics, and work your way up to more complex projects. That's how you build confidence and avoid getting frustrated.
Actionable First Project Ideas for Beginners
Ready to complete your first project? Here are some simple, fun projects that are perfect for beginners. They don't require much material, they're quick to do, and you get a finished project you can be proud of:
Project 1: Custom Leather Keychain
- What you need: Blank leather keychain, key ring, hardware
- Time to engrave: 1-2 minutes with a galvo laser
- Why it's great: Simple, useful, and makes a great gift. Perfect for practicing text engraving.
Project 2: Custom Pet Tag
- What you need: Blank metal pet tag
- Time to engrave: 30-60 seconds
- Why it's great: Fast, practical, and always in demand. You can even make these to sell once you get comfortable.
Project 3: Engraved Wood Coaster
- What you need: Blank wood or cork coaster
- Time to engrave: 2-5 minutes
- Why it's great: Perfect for practicing photo engraving. A set of four coasters makes an excellent housewarming gift.
Project 4: Personalized Wine Glass
- What you need: Plain glass wine glass, masking tape
- Time to engrave: 1-2 minutes
- Why it's great: Looks impressive, but it's actually very easy once you know the right settings. Great for wedding gifts.
Project 5: Custom Acrylic Keychain
- What you need: Blank acrylic keychain blank
- Time to engrave: 1 minute
- Why it's great: Cheap, easy, and you can do really detailed designs. Perfect for practicing different fill patterns.
Start with one of these, and you'll have a finished project in less than 30 minutes from unboxing your machine. There's nothing like finishing your first project to give you the confidence to keep going.
Final Tips for Your Laser Engraving Journey
Here's what you need to remember as you get started with laser engraving:
- Start small: You don't need everything day one. Get a good entry-level machine, learn the basics, and expand from there.
- Practice regularly: The more you use your machine, the more comfortable you'll get. Even 15-30 minutes a week will help you improve quickly.
- Join communities: There are great laser engraving communities on Reddit and Facebook where you can ask questions, share your projects, and learn from more experienced engravers.
- Take notes: Write down the power/speed settings that work for different materials. This saves you time later when you do similar projects.
- Have fun: Laser engraving is a fun hobby that can even turn into extra income if that's what you want. Enjoy the process and don't get discouraged by early mistakes.
Ready to Get Started?
If you're ready to start laser engraving with no experience, the Tyvok P2 10W Galvo is hands-down our top recommendation for beginners in 2026. It's affordable, fast, easy to use, and comes with everything you need to get started right out of the box.
To learn more about whether this machine is right for you, check out our full Is the Tyvok P2 10W Galvo the Best Affordable Galvo Laser Engraver in 2026 review.
If you're still comparing different options, our Best Budget Galvo Laser Engraver in 2026: Top Picks for Every Budget guide will help you compare the top options at different price points.
The best time to start was yesterday. The second best time is now – follow this guide, get your machine set up, and you'll be creating awesome laser engraved projects in no time.
Related Reading: How to Start Laser Engraving with No Experience: Step-by-Step Guide for 2026
Related Reading: How To Clean A Laser Engraved Tumbler Step By Step Guide 2026
Related Reading: How To Start A Laser Engraving Side Hustle With Tyvok A1 Mini In 2026