


How to Laser Engrave and Cut Rubber Stamps: A Complete Guide for Makers and Small Businesses
So, you want to create custom rubber stamps? Whether you're a crafter looking to personalize your projects, a small business owner wanting to add a professional touch to packaging, or an entrepreneur spotting a market opportunity, laser engraving is the modern key to flawless, durable stamps. Gone are the days of messy carving tools and inconsistent results. A laser engraver transforms this craft into a precise, repeatable, and profitable process. This guide will walk you through everything you need to know, from choosing the right materials to mastering the laser settings, so you can start creating stunning custom stamps.
Why Laser Engraving is the Best Method for Rubber Stamps
Before diving into the "how," let's talk about the "why." Laser engraving offers distinct advantages that make it superior to traditional stamp-making methods for both hobbyists and businesses.
Precision and Detail: A laser beam is incredibly fine, allowing you to engrave intricate logos, fine text, and detailed illustrations that would be impossible to carve by hand. This means you can offer clients highly customized designs with perfect consistency every time.
Speed and Efficiency: Once your design is loaded and settings are dialed in, a laser can produce a finished stamp in minutes. This efficiency is a game-changer for fulfilling bulk orders or building an inventory for your small business.
Durability and Clean Edges: The laser vaporizes material to create deep, sharp grooves. This results in a stamp that holds ink well and produces crisp impressions for thousands of uses. The cutting process also seals the edges of the stamp material, preventing fraying or degradation.
Scalability: From a single stamp for a wedding invitation to a batch of 100 logos for a corporate client, the process is the same. This scalability is the foundation of a viable custom stamp business with a laser.
Essential Materials: Choosing the Best Rubber for Laser Engraving
Not all rubber is created equal for laser work. Using the wrong material can lead to poor results, excessive smoke, and even damage to your machine. Here’s what you need to look for.
Laser-Specific Rubber Sheets: This is the gold standard. Often called "laser engraving rubber" or "photopolymer rubber," it's formulated to vaporize cleanly with minimal residue and odor. It typically comes in sheets (e.g., 12" x 12" or 12" x 24") and in various thicknesses (3mm is a common starting point).
Key Properties of the Best Rubber for Laser Engraving Stamps: * Low Chlorine Content: Avoid natural rubber or materials like neoprene. When lasered, they can release chlorine gas, which is corrosive to your machine's optics and components, and harmful to breathe. * Consistent Density: Provides uniform engraving depth and clean cutting. * Light Color: A white or beige surface provides better contrast for the laser's sensor to focus accurately and allows you to easily see the engraved design.
Material to Avoid: Do not use vulcanized rubber, erasers, or any rubber not explicitly marked as safe for laser engraving. Always check the Material Safety Data Sheet (MSDS) from your supplier.
Where to Source: Look for suppliers specializing in laser materials. Popular brands include Rowmark Laser Rubber, JDS, and Johnson Plastics. Start with a small sheet to test before investing in bulk.
Step-by-Step Process: How to Make Rubber Stamps with a Laser
Now for the practical part. Let’s break down the process from design to finished stamp.
Step 1: Design and Software Preparation
Your journey starts on the computer. Use vector graphic software like Adobe Illustrator, CorelDRAW, or free alternatives like Inkscape. Your design must be in vector format (paths, not pixels). * Crucial Step: Mirror Your Design. The engraved stamp will be a mirror image of your laser bed. You must horizontally flip your design in the software so it stamps correctly. * Use Two Colors: Assign your engraving lines (the negative space of the stamp) one color (e.g., red) and your cut lines (the outer perimeter) another (e.g., blue). This allows you to set different power and speed settings for each operation in the laser software.
Step 2: Laser Machine Setup and Safety
- Ventilation is Non-Negotiable: Ensure your exhaust fan is on and venting outdoors. Engraving rubber produces smoke.
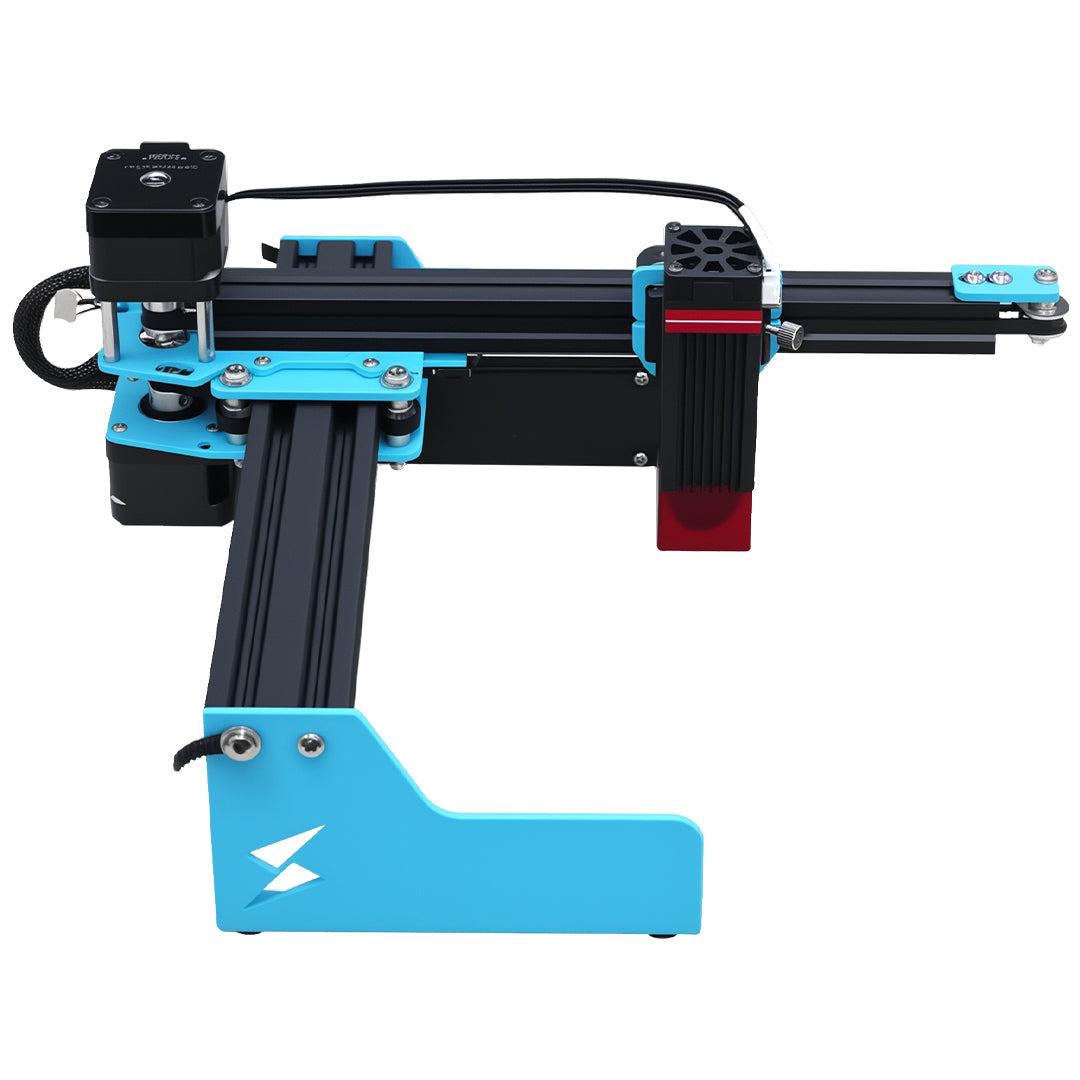
- Focus the Laser: Precisely focus the laser beam on the surface of your rubber sheet using your machine's auto-focus or manual focus tool. A Tyvok P2 10W Galvo laser, for example, has a fixed-focus field, so you simply ensure your material is at the correct working distance.
- Secure the Material: Use tape or weights to prevent the thin rubber sheet from curling during engraving.
Step 3: Dialing in the Perfect Settings
This is the most critical step. Settings vary by machine power and material brand. Always run material tests first. Create a grid of small squares engraved and cut at different power/speed combinations. * For a 40W-60W CO2 Laser (like the Tyvok K1): * Engraving: Start at ~15% power, 100% speed for a light pass. Increase power for deeper grooves (25-35% is common). You may do 2-3 passes for deep, professional stamps. * Cutting: ~50% power, 10-15% speed. The goal is a clean, through-cut without burning the edges. * For a Diode Laser (like the Tyvok A1 Mini): * Diode lasers have lower peak power. You'll need to run slower and/or do more passes. * Engraving: 80-100% power, 150-200 mm/s speed, 2-3 passes. * Cutting: 100% power, 5-10 mm/s speed, multiple passes (may require 5-10). Patience is key. * For a Galvo Fiber Laser (like the Tyvok P2 10W): * Galvos are incredibly fast for engraving but are not typically used for cutting through thick materials. They excel at surface marking and very fine, fast engraving on laser rubber sheets. Settings are measured differently (scan speed, Q-frequency). Start with manufacturer recommendations for rubber.
Step 4: Engraving, Cutting, and Mounting
- Engrave First: Run the engraving job (your red lines). The laser will etch away the design.
- Cut Second: Run the cutting job (your blue lines). The laser will cut out the stamp's shape.
- Clean the Stamp: Wipe off any residue with a damp cloth or isopropyl alcohol.
- Mount It: Apply adhesive-backed foam to the back of your rubber stamp, then mount it onto a wooden or acrylic handle. Pre-made stamp mounts are available from craft suppliers.
Turning Your Skill into a Business: Starting a Custom Stamp Business with a Laser
If you're looking to monetize this skill, you're in a great position. The market for custom stamps is vibrant.
Identify Your Niche: Don't try to be everything to everyone. Focus on a niche like: * Wedding stationery (monograms, addresses) * Small business branding (logo stamps for packaging) * Crafters and hobbyists (signature stamps for artists) * Office and practical stamps ("PAID," "CONFIDENTIAL," custom return addresses)
Pricing Your Work: Factor in material costs, machine time, design time, and overhead. A common model is a base price + charge per square inch of engraving.
Essential Equipment for Growth: While you can start with an entry-level machine like the Tyvok A1 Mini, as orders grow, consider upgrading for speed and bed size. A large-format CO2 laser like the Tyvok K1 allows you to engrave multiple stamps on a single sheet, drastically improving production efficiency for business orders.
Marketing: Showcase your work on Etsy, Instagram, and at local craft fairs. Offer custom design services. Before/after photos and videos of the laser process are highly engaging content.
Frequently Asked Questions
Can I use my diode laser to make rubber stamps?
Absolutely. Diode lasers like the Tyvok A1 Mini are capable of making excellent rubber stamps. The key is understanding that they work differently than CO2 lasers. You will need to run more passes at slower speeds to achieve the necessary engraving depth and a clean cut. It takes longer but produces high-quality results perfect for a small-scale or starting business.
What's the difference between engraving rubber and cutting it with a laser?
Engraving uses lower power and higher speed to vaporize the top layer of material to create your design's impression. Cutting uses higher power and slower speed to vaporize a thin line completely through the material, freeing your stamp from the sheet. In your software, these are two separate operations with different settings.
How deep should I engrave a rubber stamp?
Aim for an engraving depth of approximately 0.5mm to 1.0mm. This is deep enough to hold ink without pooling and to provide a long-lasting stamp. Shallow engraving will wear out quickly, while overly deep engraving can make the stamp detail fragile. Test on scrap material to find the perfect depth for your laser and material.
Is it safe to laser engrave rubber?
It is safe only if you use laser-safe rubber and have proper ventilation. Never laser materials not rated for it, as they can emit toxic fumes. Always operate your laser in a well-ventilated area, use an exhaust fan, and consider an air assist to help clear smoke from the engraving path.
Conclusion
Laser engraving rubber stamps opens up a world of creativity and commercial potential. It demystifies the process, replacing manual skill with digital precision and repeatability. By starting with the right laser-safe materials, meticulously dialing in your machine settings, and following a clean workflow, you can produce professional-grade stamps that impress clients and stand up to heavy use. Whether you're personalizing your own crafts or building the foundation of a custom stamp business, a laser engraver like those from Tyvok—from the accessible A1 Mini to the production-ready K1—is the tool that can transform your ideas into tangible, inky reality. Now, fire up your design software, it's time to make your mark.